
If you’re weighing the cost to paint interior of house and your home is around 2,000 sq. ft., you’re likely asking two questions:
-
How much will it cost?
-
Is hiring a pro worth it vs. DIY?
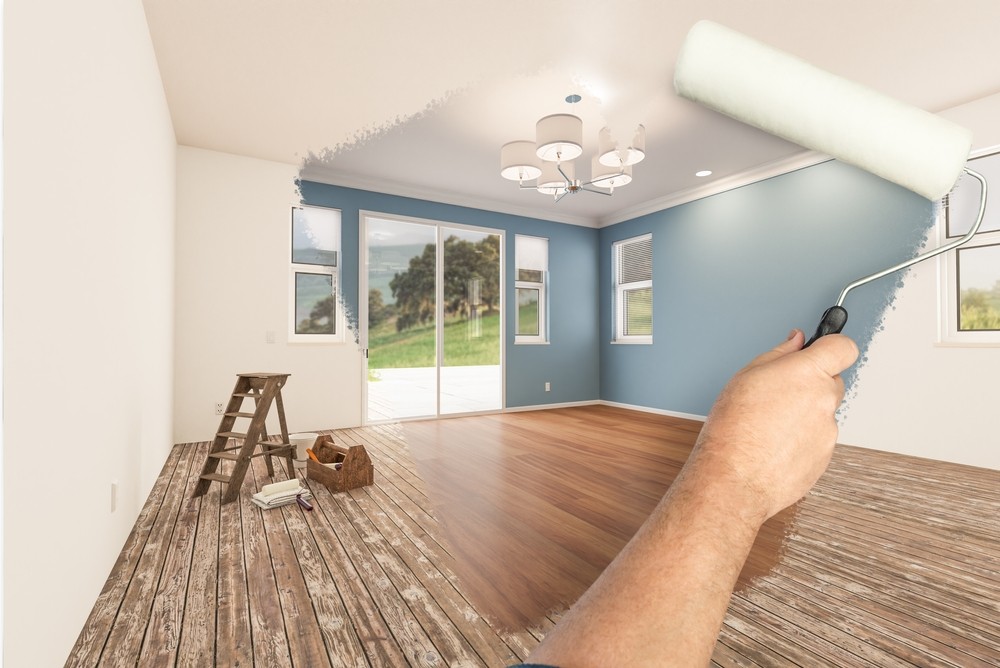
The answer is it depends on scope, surface condition, paint quality, and labor. DIY can cut upfront costs but often adds time, risk, and hidden expenses; professional painting typically delivers faster timelines, durable finishes, clean lines, and warranties that stretch the value of your investment.
In this guide, we break down DIY vs. professional costs, show realistic price ranges, and explain what truly drives the budget—all aligned to how homeowners actually plan projects.
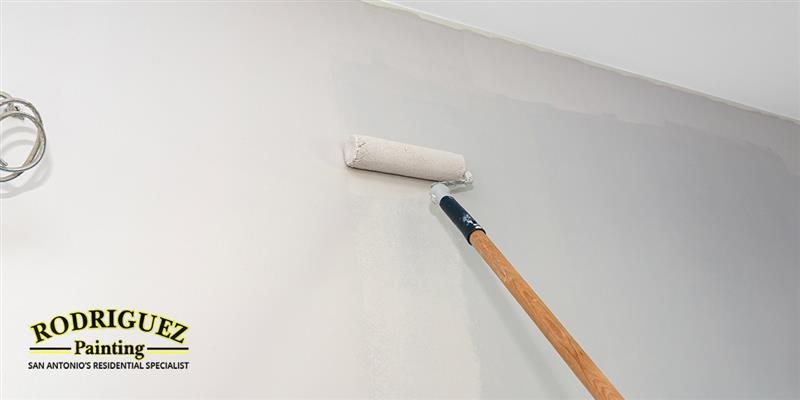
The Cost Breakdown
DIY painting may cut the upfront costs, but factor in more than gallons and rollers. Add time, tools, proper prep, and finish longevity. Compare DIY and professional options to understand the tradeoffs and choose what’s right for your home and budget.
|
Aspect |
DIY |
Professional |
|---|---|---|
|
Upfront Cost |
Lower cash spend; higher time cost |
Higher cash spend; faster completion |
|
Finish Quality |
Risk of lap marks, flashing, uneven sheen |
Smooth, consistent, warrantied finish |
|
Tools & Sundries |
Brushes, rollers, caulk, drop cloths, ladders |
Included in bid; pro-grade equipment |
|
Timeline |
Weekends/evenings; may stretch for weeks |
Crew finishes on a tight schedule |
|
Prep & Protection |
Self-managed; easy to under-scope |
Robust prep, masking, site protection |
|
Safety |
Ladders, respirators, dust |
Trained crews with proper safety protocols |
The Time Commitment
DIY projects almost always take longer than expected. A “quick” room can spill into multiple weekends, and larger scopes—especially exteriors—can stretch into months when tackled part-time.
Time expands with prep. Masking, moving furniture, patching, sanding, and priming often take longer than the actual painting—especially if walls need drying between steps.
Dry and cure times add hidden delays. Humidity, temperature, and ventilation can extend recoat windows, so what looks like a one-day job becomes a multi-day sequence.
Sequencing slows DIY. Ceilings, then walls, then trim—each pass requires cleanup and resets. Miss a step and you’ll backtrack, doubling effort.
Tool logistics matter. Renting ladders, sprayers, or sanders requires pickup, setup, learning, cleanup, and returns—time that pros compress with on-hand equipment.
Professionals compress the schedule. Crews divide tasks (prep, cut-in, roll, detail) in parallel, maintain steady throughput, and build in weather buffers to keep work on track.
Most interiors wrap in a few days; exteriors in about a week, weather permitting. With manpower, planning, and the right tools, pros keep your project moving and minimize disruption.
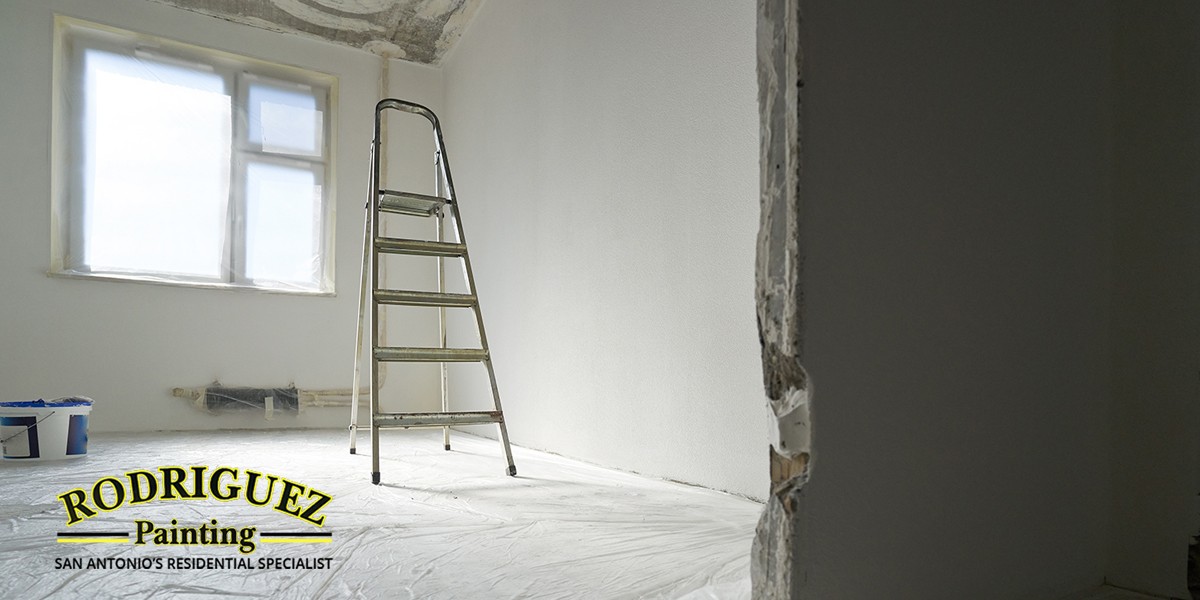
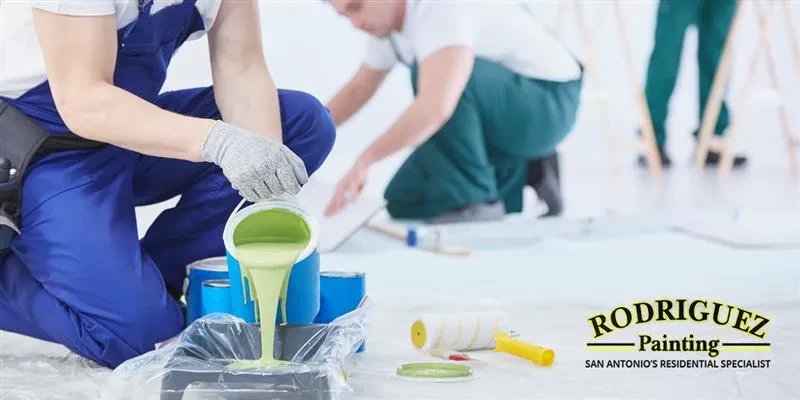
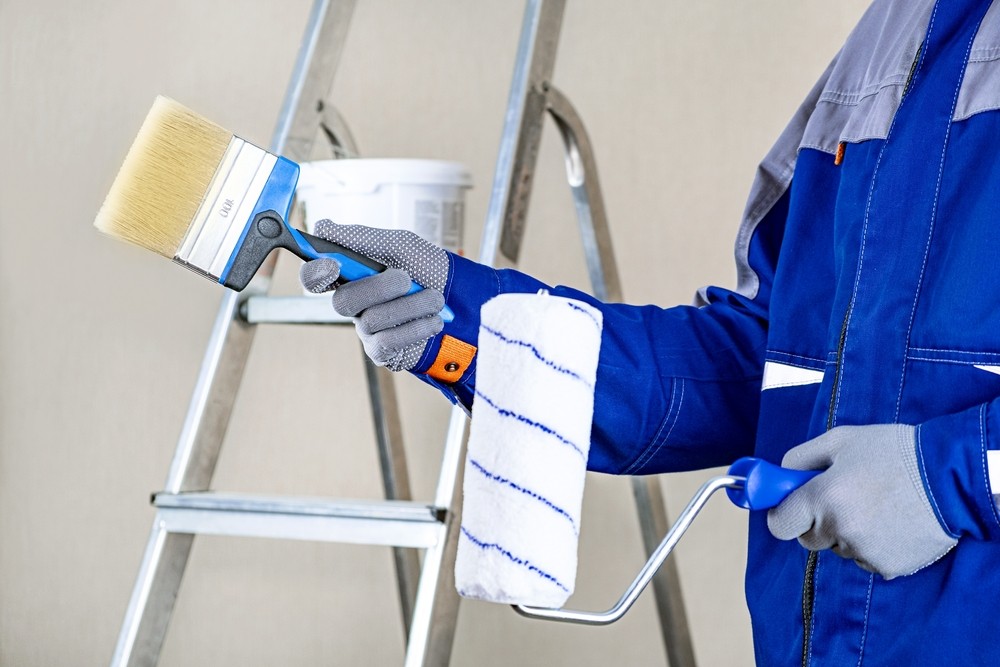
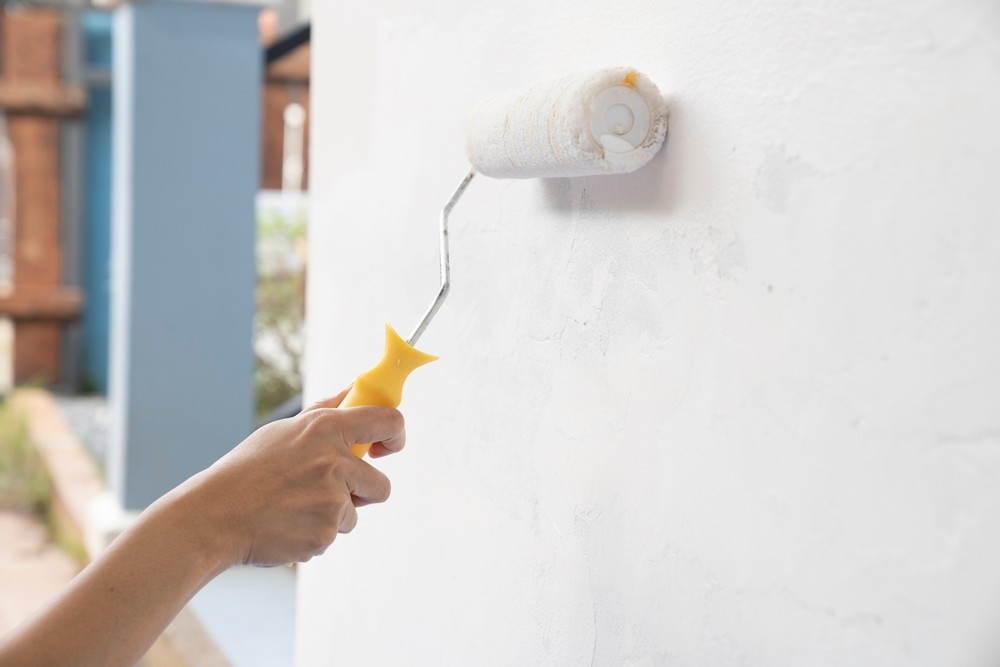
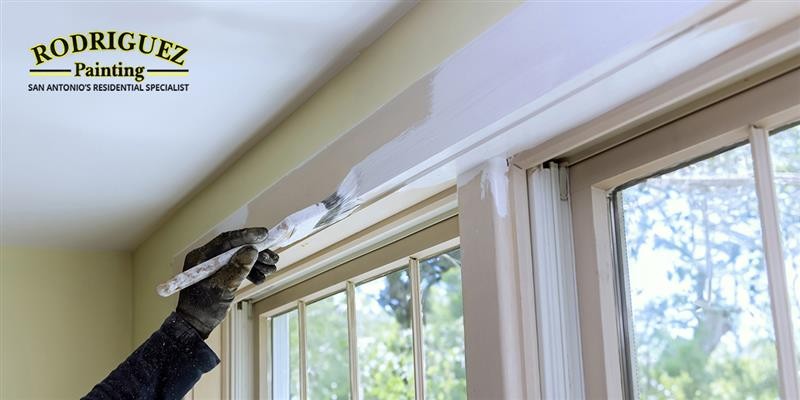
Tools and Prep Work
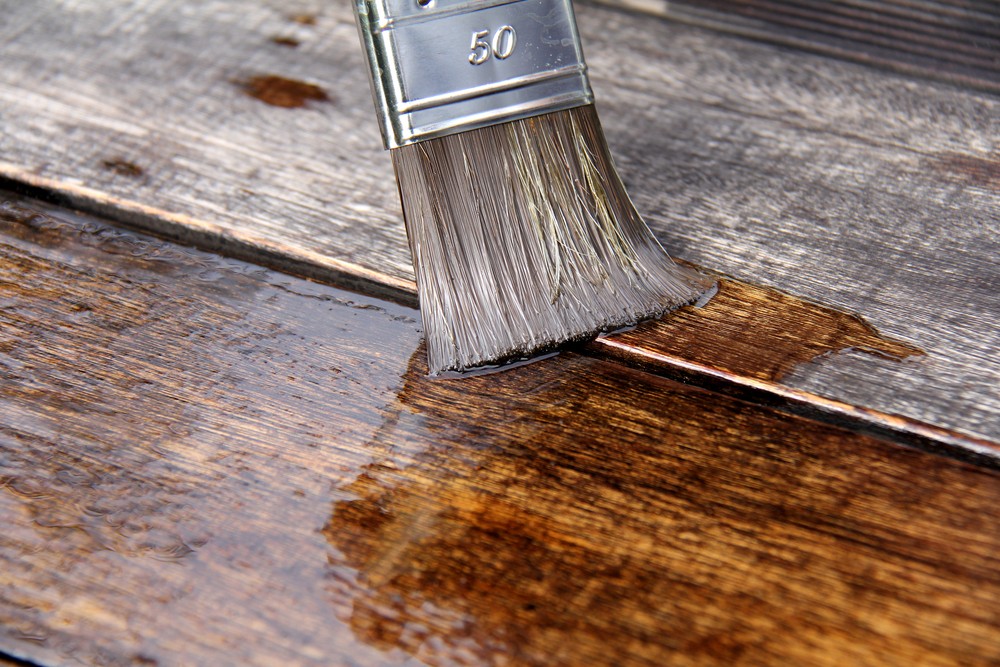
Preparation is where many DIY efforts fall short. Consumer-grade brushes and rollers rarely match the coverage, edge control, or film build of pro tools. Skipping steps like sanding, caulking, or priming shortens the life of the paint and causes uneven sheen.
Pros start with a clean, sound surface. They degrease kitchens, degloss shiny trim, and remove residues that can block adhesion. Stain-blocking or bonding primers are chosen based on the substrate and problem areas.
Surface repairs are handled methodically. Nail pops are reset and patched, cracks are bridged with the right filler, and texture is blended so patches don’t “telegraph” through the finish. Sanding grades progress to achieve a uniform profile.
Moisture and temperature are checked before coating. In humid climates, dry time and recoat windows are adjusted to prevent flashing, cracking, or premature failure. Masonry or fresh drywall may need specialized primers (PVA for new drywall; alkali-resistant for concrete).
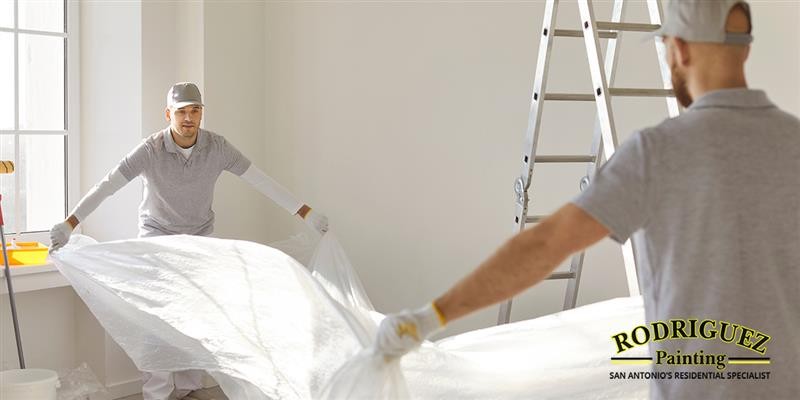
Masking and protection are thorough. Floors, fixtures, cabinets, and hardware are covered; high-adhesion, clean-release tapes are used to get crisp lines without pulling finish. Dust control keeps debris out of the paint film.
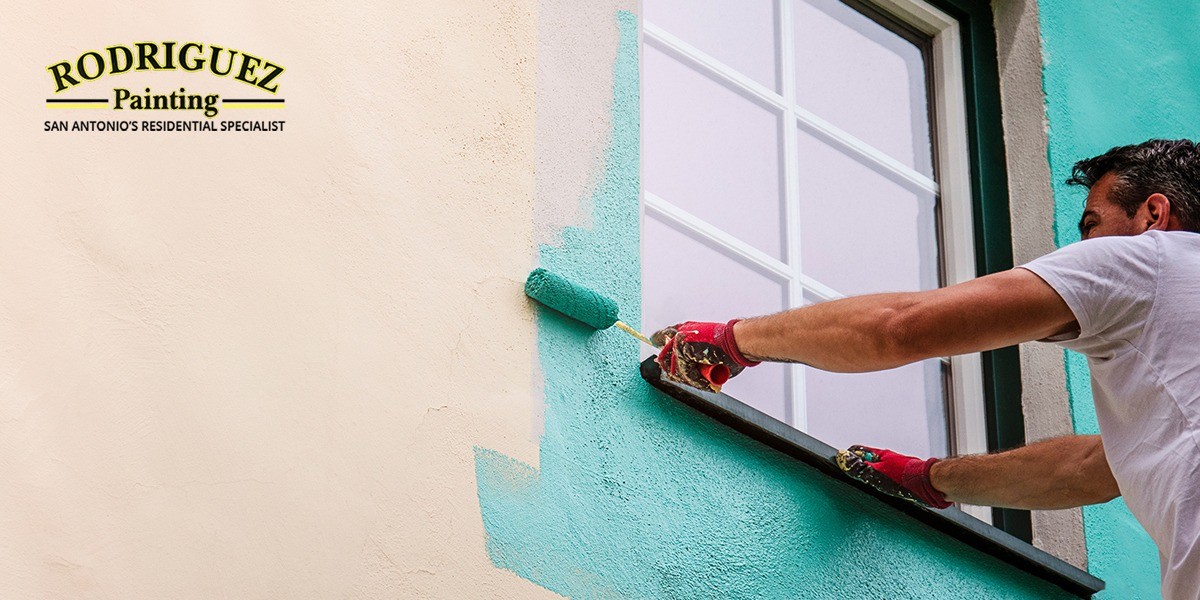
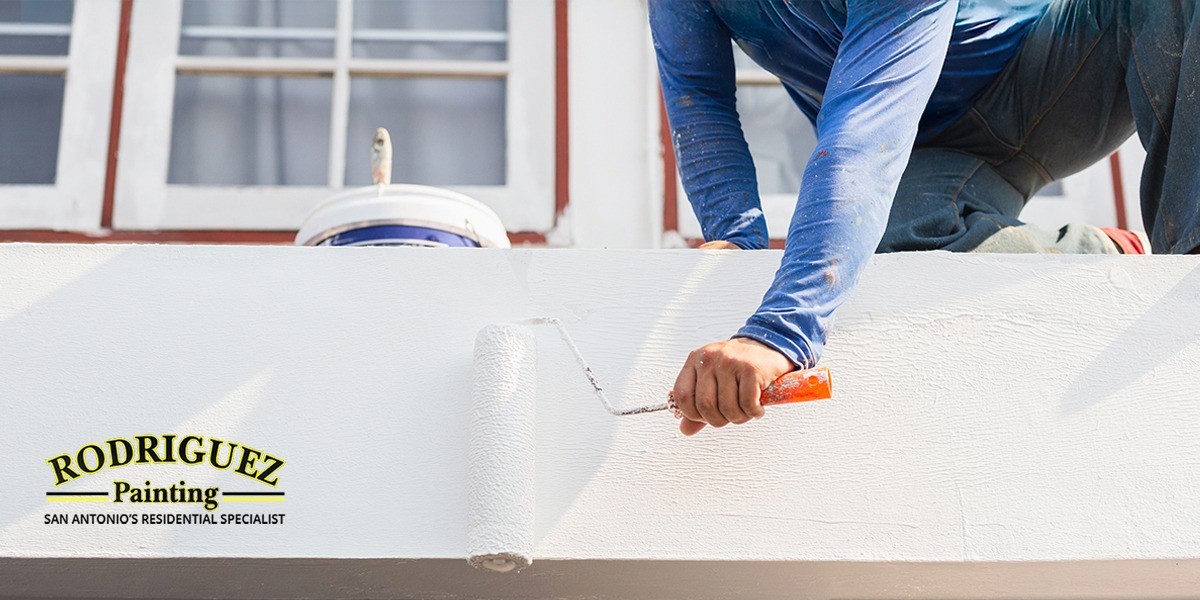
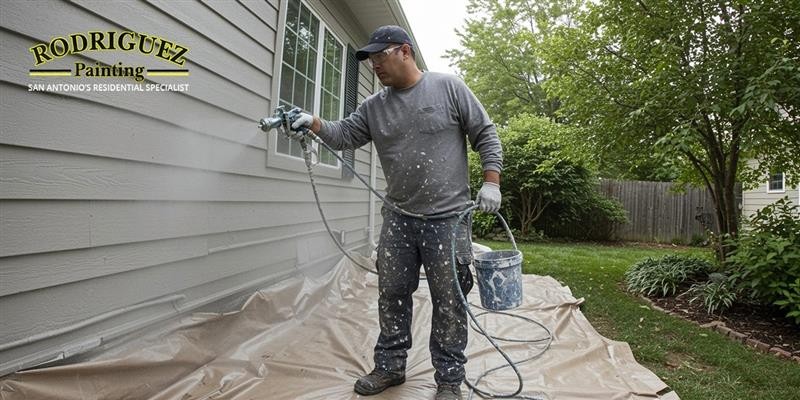
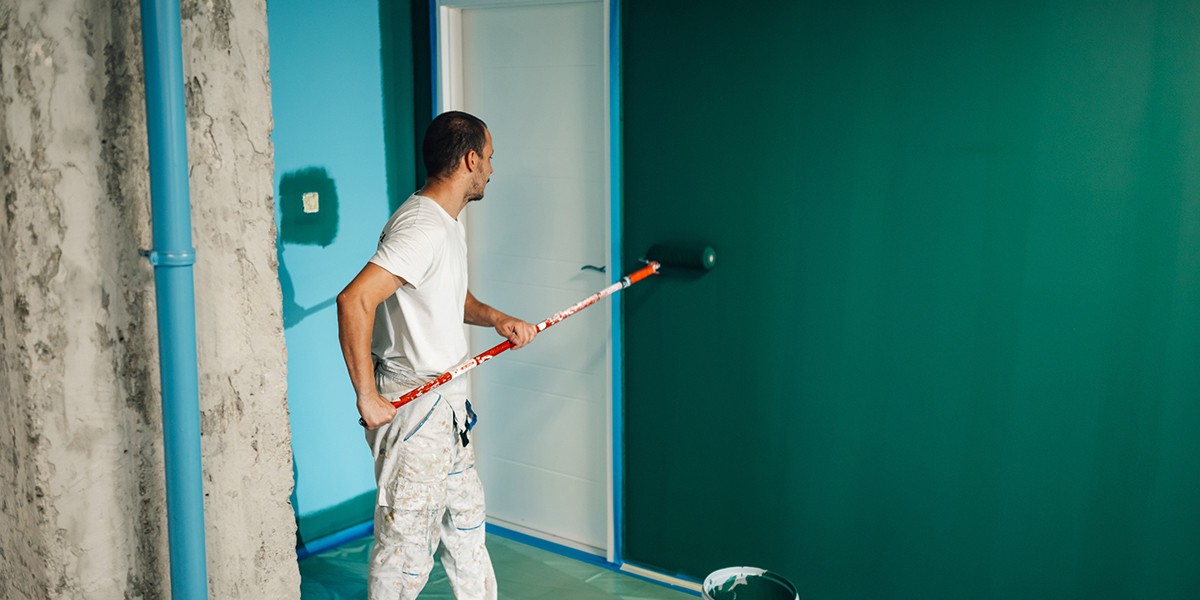
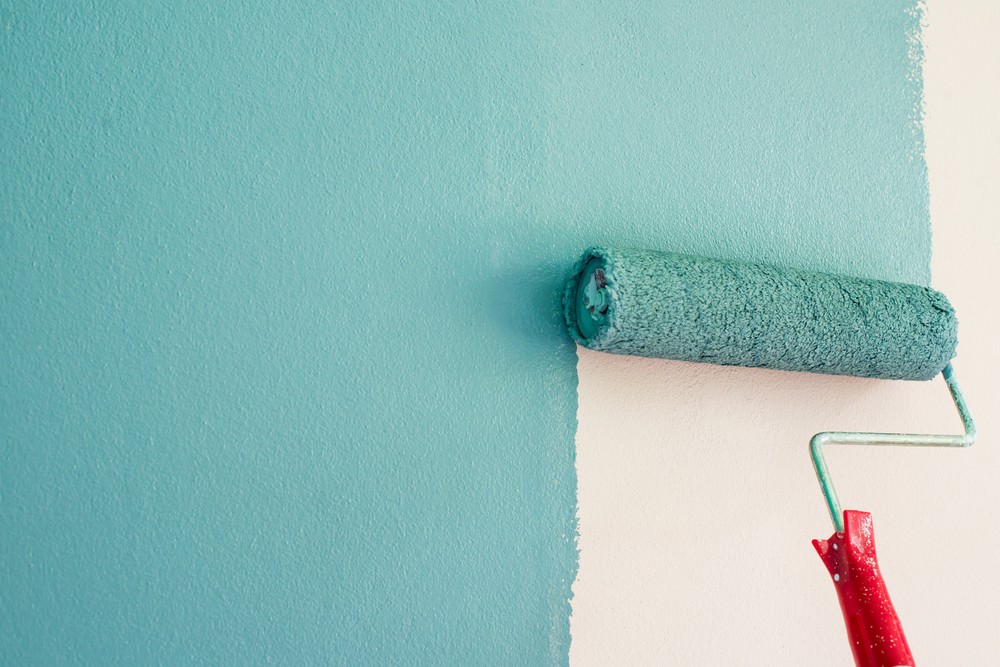
Application is matched to the space. Sprayers lay down even coats quickly; back-rolling drives paint into porous surfaces for better bond. Cutting-in is kept sharp so corners and trim read clean and professional.
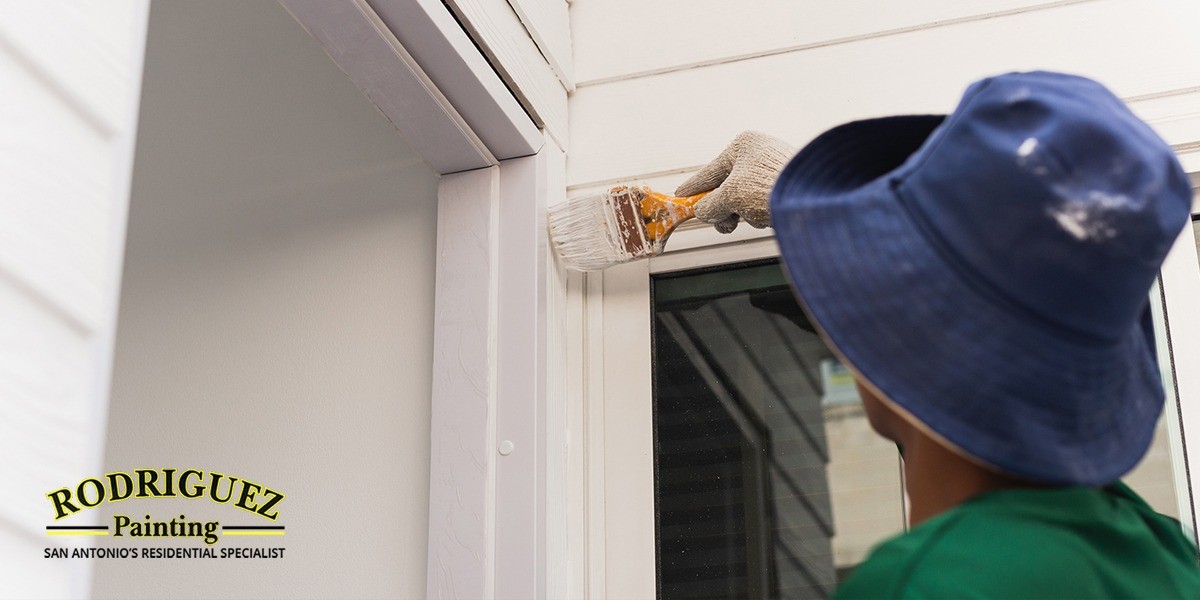
Finish systems are specified for durability. Caulk is paintable and flexible; topcoats are selected for washability where it matters (eggshell/satin for walls, semi-gloss for trim and doors). Coats are measured by coverage and mil thickness, not guesswork.
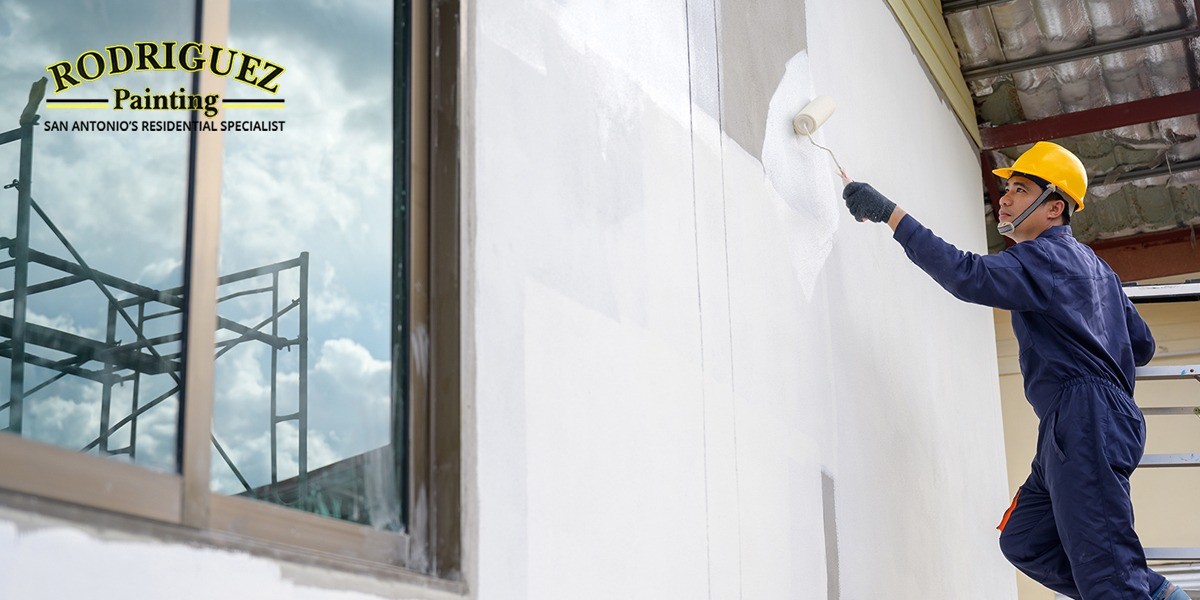
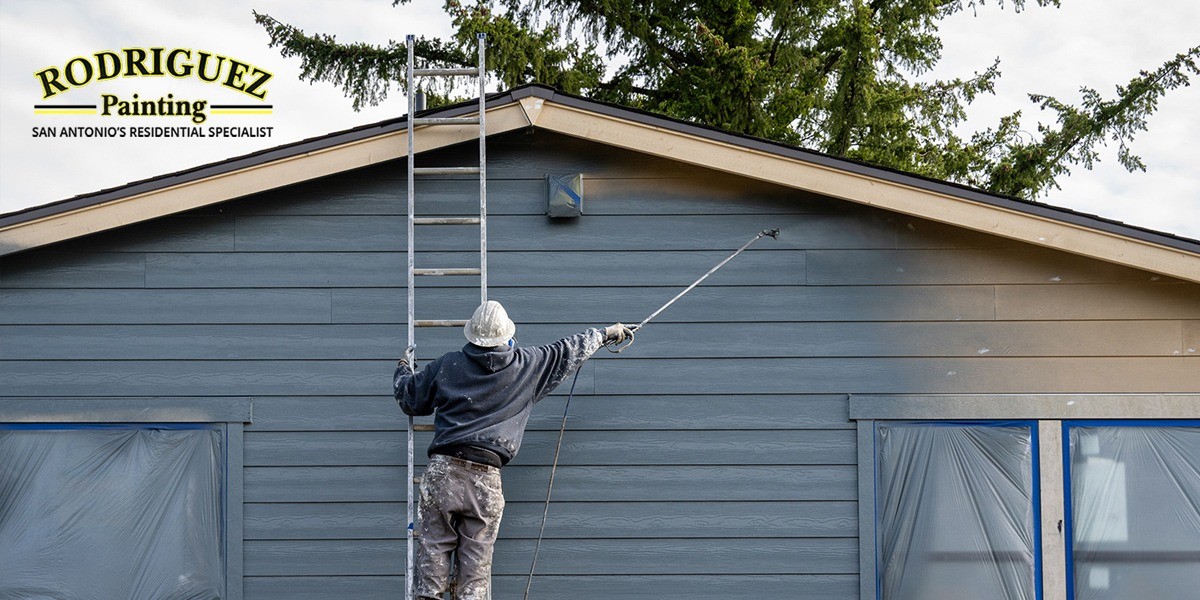
Scaffolding, ladders, and extension poles are set safely and efficiently. Pros work higher walls and stairwells without drips or lap marks—and without risking injuries that can derail a DIY timeline.
The result of this workflow is a uniform, long-lasting finish. Proper prep and tool selection extend the repaint cycle, resist scuffs and stains, and keep sheen consistent from room to room.
Quality and Durability
Outcomes vary widely with DIY. Without the right primer for the surface—bonding on glossy trim, stain-blocking on water marks—paint can fail early. Skipping deglossing, sanding, or caulking often shows up as poor adhesion, visible seams, and hairline cracks.
Uneven application is another culprit. DIY rollers can leave lap marks and flashing where sections overlap or dry at different rates. Inconsistent mil thickness reduces protection and makes touch-ups obvious under certain lighting.
Professionals control variables that drive finish quality. They test moisture where needed, spot-prime problem areas, and sand between coats for a smooth film build. Cut lines stay sharp at ceilings and trim because they use the right brushes, tapes, and sequencing.
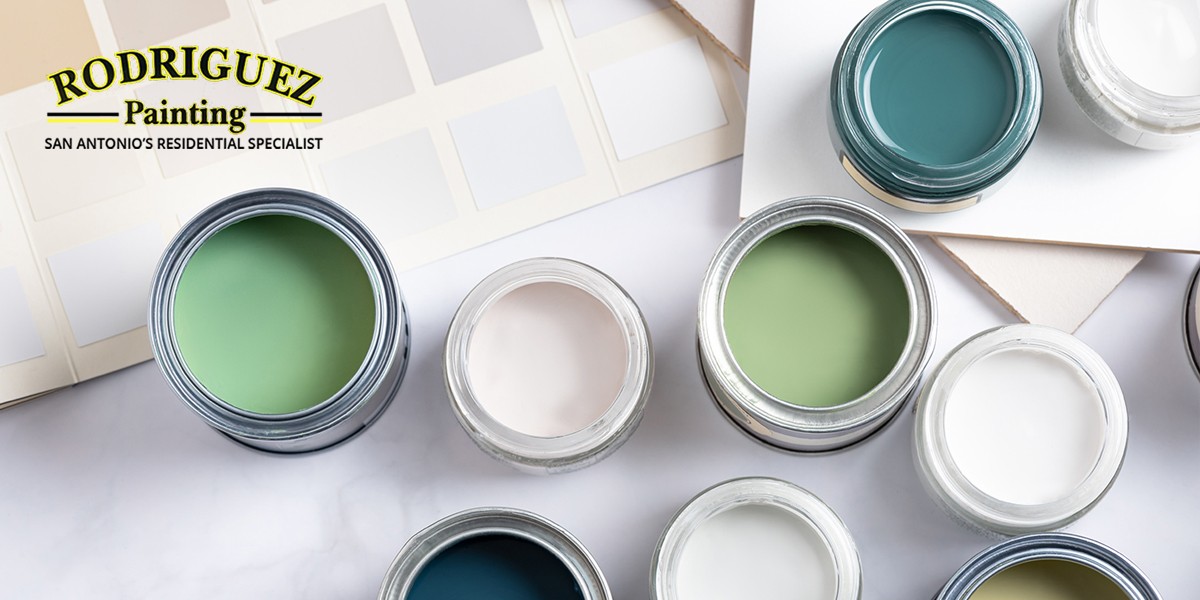
Product selection matters, too. Pros pair primers and topcoats from the same system, match sheen levels room-by-room, and choose washable, scuff-resistant formulas for high-traffic areas. The result is color consistency, uniform sheen, and better stain resistance over time.
Curing and environment complete the picture. Professionals manage temperature, humidity, and airflow so coatings level properly and bond as designed. Most reputable contractors stand behind this process with a written workmanship warranty—protecting both the finish and your investment.
Average Cost to Paint the Interior of a House
Nationally, reputable sources place interior painting around $2–$6 per sq. ft. for walls, with costs increasing when you include ceilings, trim, and doors. For a 2,000 sq. ft. home (walls only), that often translates into a mid-four-figures project; add ceilings/trim and premium paints, and the budget rises.
How this plays out for ~2,000 sq. ft.:
-
Walls only (typical): ~$2.50–$4.00/sq. ft. of wall area (not floor area)
-
Walls + ceilings + trim: often +$1.50–$2.25/sq. ft. more for the added scope
-
Two-coat coverage for color change, accent walls, and high ceilings move the needle up
|
Area / Room Type |
Average Cost Range |
Cost per Sq. Ft. |
Notes |
|---|---|---|---|
|
Bedroom (10×12) |
$300 – $700 |
$2.50 – $4.00 |
Includes ceiling & trim when specified |
|
Living Room |
$600 – $1,200 |
$2.50 – $4.50 |
Wall height & windows affect time |
|
Kitchen |
$400 – $800 |
$3.00 – $5.00 |
Degreasing + stain-blocking may be needed |
|
Bathroom |
$200 – $500 |
$2.00 – $3.50 |
Moisture-resistant paints preferred |
|
Whole Home (~1,500 sq. ft.) |
$2,500 – $4,000 |
$2.50 – $3.50 |
Walls only; add ceilings/trim separately |
|
Whole Home (~2,000 sq. ft.) |
$3,200 – $6,000 |
$2.50 – $4.00 |
Scope, coats, and color changes impact cost |
According to HomeAdvisor, interior painting commonly averages around $2.75 per sq. ft. for walls and about $4.70 per sq. ft. when including walls, trim, and ceilings. For many homeowners, total project costs typically fall within $2,000–$6,000, depending on scope and condition.
.jpeg)
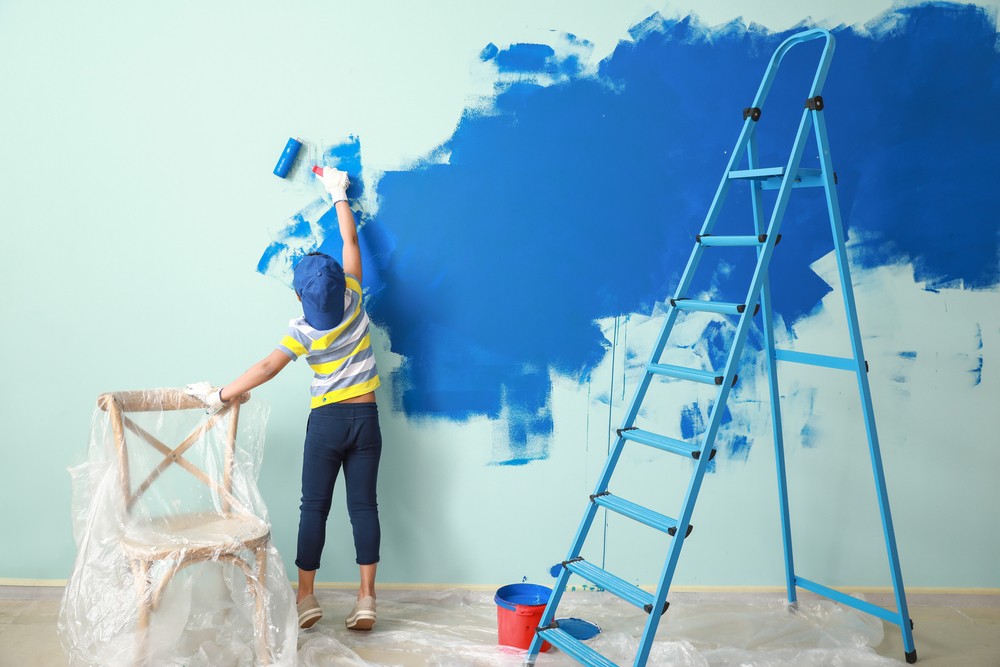
When DIY Makes Sense
DIY works best for small, contained spaces with straightforward conditions. Think a bedroom, home office, hallway, or a single accent wall where surfaces are smooth and repairs are minimal.
It’s a good option when you already own basic tools—rollers, angled brushes, drop cloths, sanding sponges, caulk—and you’re comfortable taping edges, cutting in, and applying two uniform coats.
Choose projects with simple colors and similar sheens. Avoid drastic dark-to-light color changes or high-chroma hues that demand extra coats and specialty primer.
Limit scope to walls only if you’re new. Ceilings, trim, and doors are harder to perfect and can quickly reveal brush marks, lap lines, or uneven sheen.
Plan a tight schedule and finish a room in one go to maintain a wet edge. Work top to bottom—ceiling (if included), then walls, then trim—to reduce touch-ups.
Use quality materials to stretch results. A bonding or stain-blocking primer, a washable interior latex (eggshell for living spaces, satin for high-traffic), and fresh roller covers can prevent flashing and extend repaint cycles.
Do a light prep even if surfaces “look fine.” Fill nail holes, sand glossy spots, wipe dust with a damp cloth, and run a thin bead of paintable caulk along open gaps for cleaner lines.
Skip DIY if ladders, tall walls, or complex repairs are involved. Safety, speed, and finish consistency are where pros earn their keep—and where DIY savings often disappear.
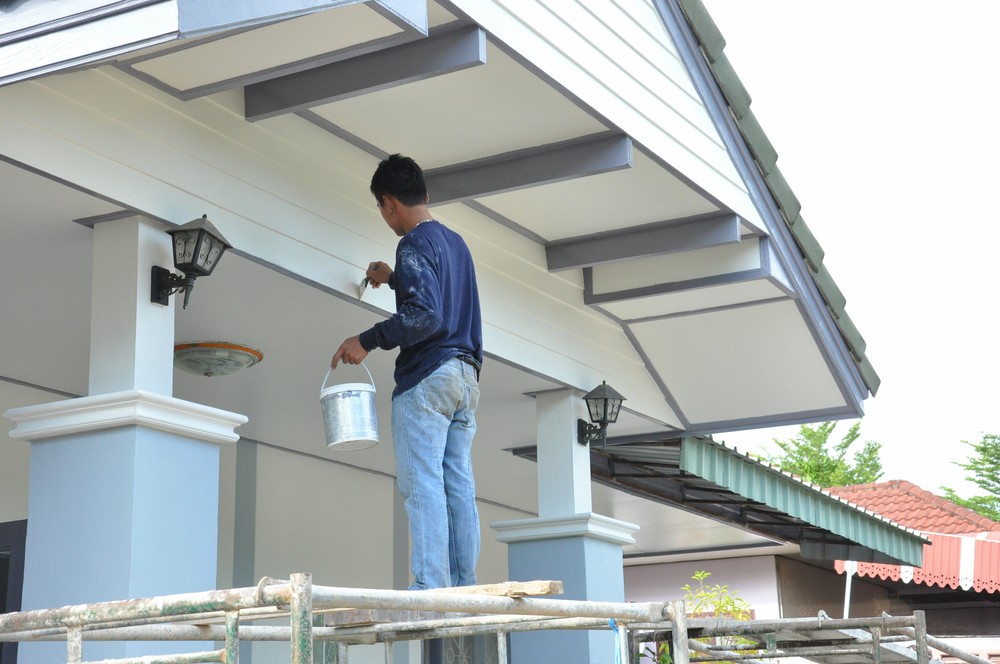
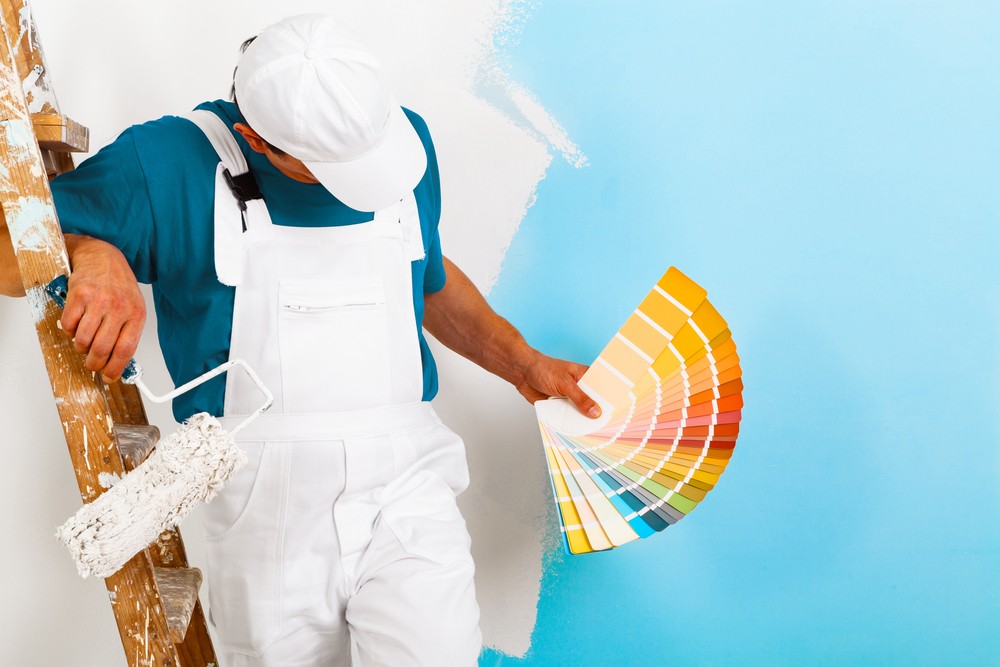
When Professional Painting Is the Better Choice
Hire a pro when the scope is large, the timelines are tight, or the surfaces are complicated. Full interiors or exteriors demand coordination, speed, and consistent results that DIY rarely sustains room-to-room.
Complex substrates benefit from professional systems. Stain-blocking primers, bonding primers, and specialty coatings are matched to masonry, wood, metals, and previously glossy walls to prevent peeling and flashing.
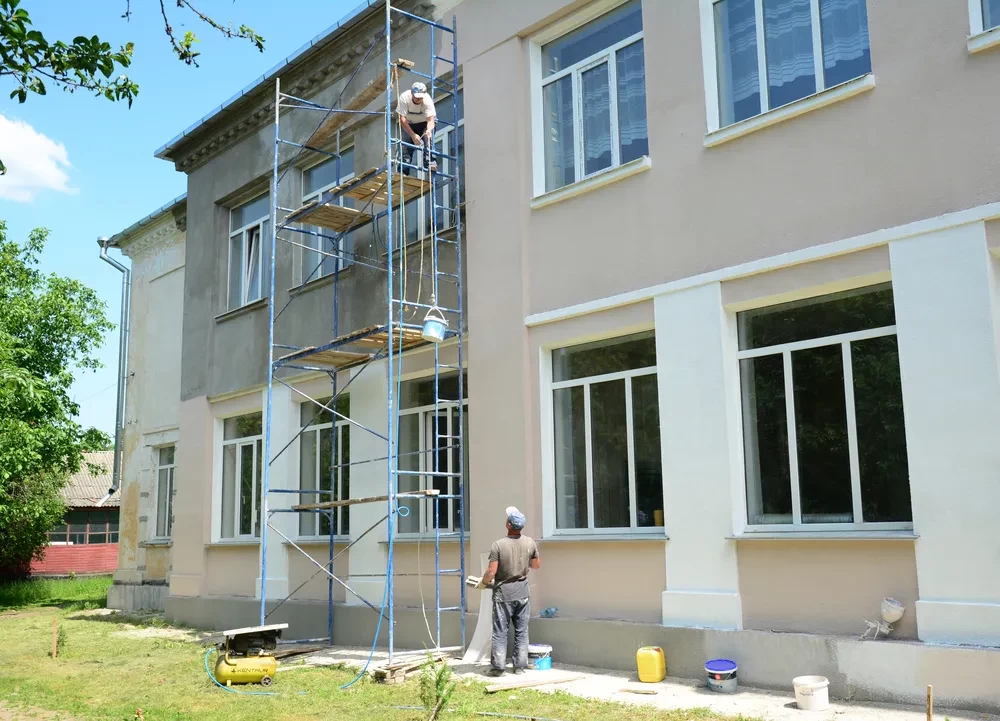
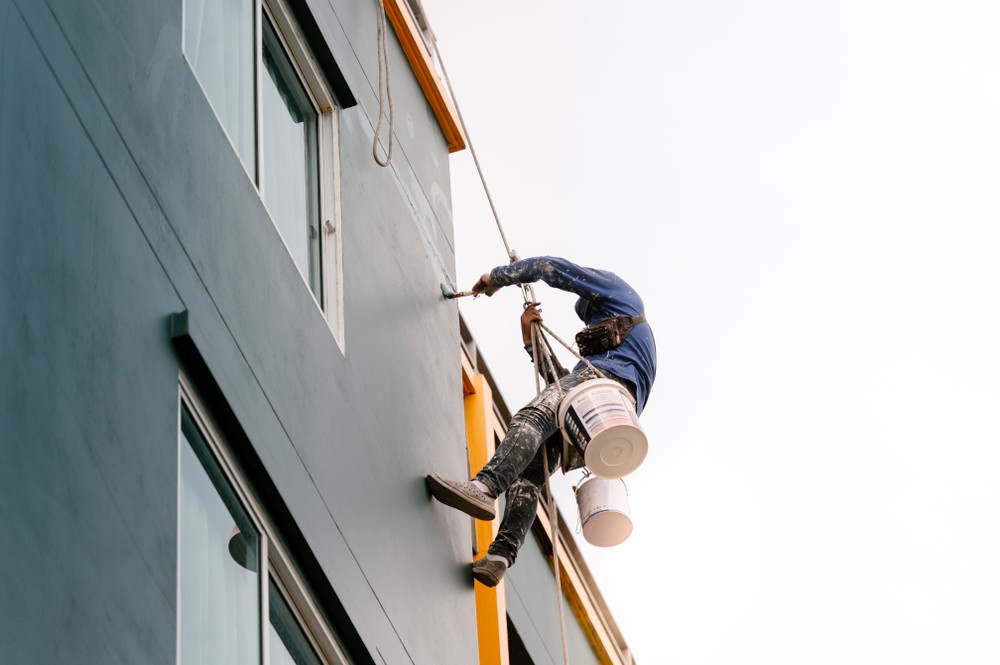
High or awkward areas require safe access. Pros bring the right ladders, planks, and scaffolding, along with dust control and floor protection that keep your home clean and your family safe.
Color changes and sheen shifts are managed with planning. Crews sequence spaces, maintain wet edges, and control lighting so coverage is even and cut lines stay razor-clean across every wall and ceiling.
Occupied homes need careful phasing. Professionals isolate spaces, schedule around your routine, and minimize downtime so bedrooms, kitchens, and hallways return to service quickly.
Repairs are addressed correctly the first time. From drywall patching and texture blending to caulking trim and sealing water stains, prep is methodical—extending the life of the finish.
Budgets stay predictable. Transparent scopes, product specs, and coat counts reduce surprises, while trained crews finish on time and limit rework.
You also get accountability. Licensed, insured teams back their work with warranties and post-job support—so if touch-ups are needed, they’re handled promptly and professionally.
Why Many DIY Projects Get Repainted Early
DIY work can look fine at first but age quickly when the surface wasn’t cleaned, deglossed, or primed correctly. Dust, oils, and old sheen prevent proper adhesion, so the new coat releases sooner.
Thin coverage is another culprit. If paint isn’t applied to the manufacturer’s recommended mil thickness, it can flash, scuff easily, and wear through in high-traffic areas.
Skipping primer on patched drywall, stained areas, or glossy trim leads to uneven color and early peeling. Primer isn’t optional—it locks down the substrate and evens porosity.
Humidity and temperature swings matter. Painting in damp rooms or when it’s too hot or cold slows cure and traps moisture, causing blistering and premature failure.
Using bargain paint or mismatched sheens shortens the repaint cycle. Lower resin content and weak pigments fade faster, especially near windows with strong UV exposure.
Dry time between coats is critical. Recoating too soon seals in solvents, which later show as tackiness, blocking, or peeling when the film flexes.
Edges and details fail first. Skipped caulking, rough-cut lines, and unsealed trim ends let moisture in, leading to hairline cracks and flaking around doors and baseboards.
Homeowners often repaint within a few years to fix these issues, doubling total spend. Starting with professional prep, appropriate primers, and premium coatings extends durability and delays the next repaint.
Conclusion
For a 2,000 sq. ft. home, the true decision isn’t just “DIY vs. hire,” it’s short-term savings vs. long-term value. If your walls need minimal prep and you’re comfortable with ladders, masking, and multi-day timelines, DIY may work. If you want polished results, durable finishes, and minimal disruption, a professional crew is worth the investment.
When you compare the cost to paint a 2000 sq ft house interior to the time, tools, and risk involved, hiring experts often delivers the best total value—especially for homes with repairs, high ceilings, or color changes.
To go deeper into averages by room and finish, see our pillar guide: DIY vs. Hiring a Pro: Which Is Cheaper for Interior House Painting?, whether you are searching which is cheaper way for interior house painting.
Ready for a precise, line-item estimate?
Contact Rodriguez Painting San Antonio or call 210-862-3090 to schedule your free in-home quote.
FAQs
What’s the realistic cost to paint 2,000 sq. ft. inside?
For walls only, many homeowners see ~$3,200–$6,000 depending on prep, coats, and paint line. Adding ceilings and trim increases the scope.
Where do pros save me, money compared to DIY?
In prep quality, efficient sequencing, correct primers, and warrantied finishes that delay the next repaint.
Do interior paints truly differ that much?
Yes. Resin quality, pigment load, washability, and VOC levels vary widely. Premium paints often cover in fewer coats and clean more easily, lowering lifetime cost.
How often should I repaint?
High-touch areas every 3–5 years; low-traffic rooms can stretch to 7–10 with premium paints and good prep.
Can I get a detailed, line-item estimate?
Yes. Professional quotes should spell out scope, product, coats, and repairs so you can compare apples-to-apples.