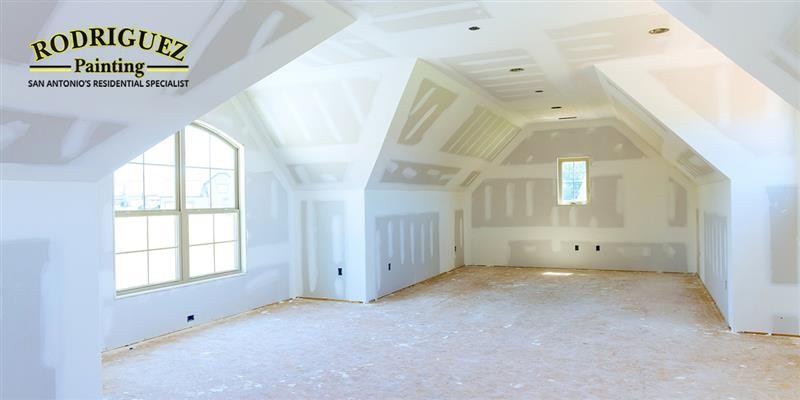
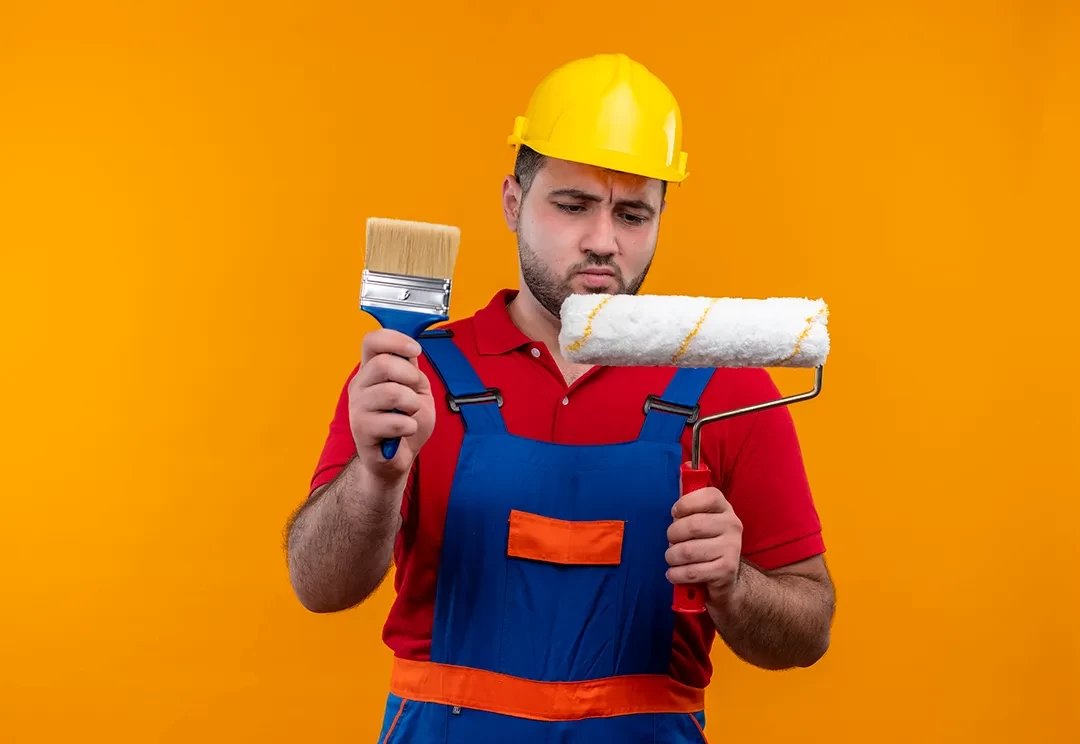
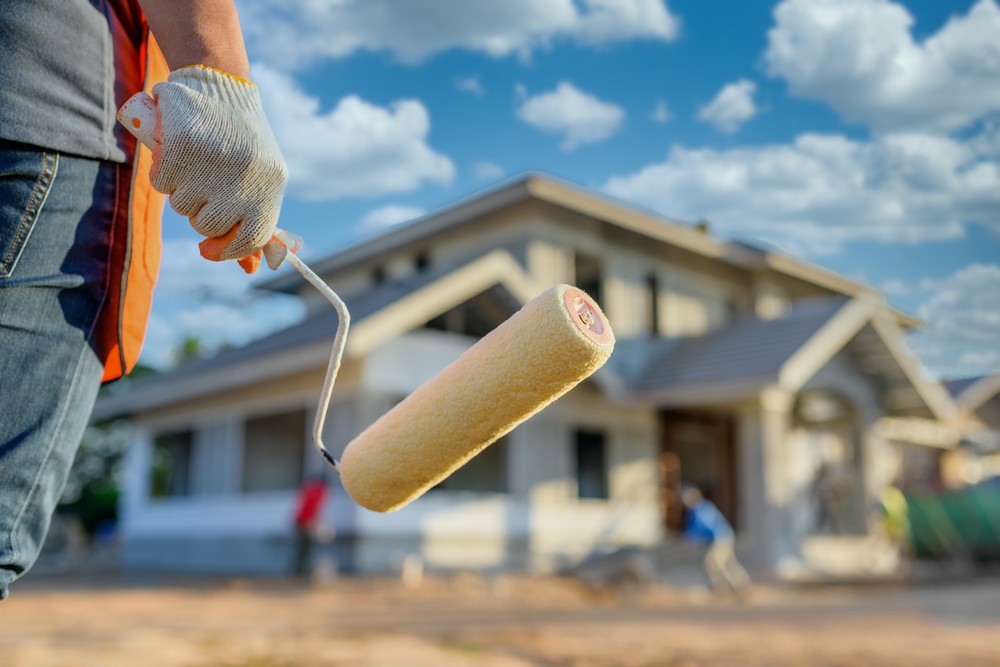
Your house’s interior walls are tricky. If you have never held a paintbrush before, it is going to be difficult for you to paint it properly. However, if the weekend has arrived and you are looking to expand your set of dad skills, then now is your time to shine.
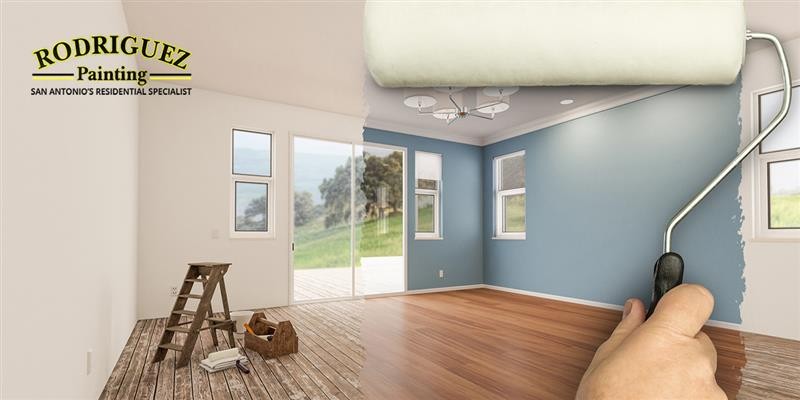
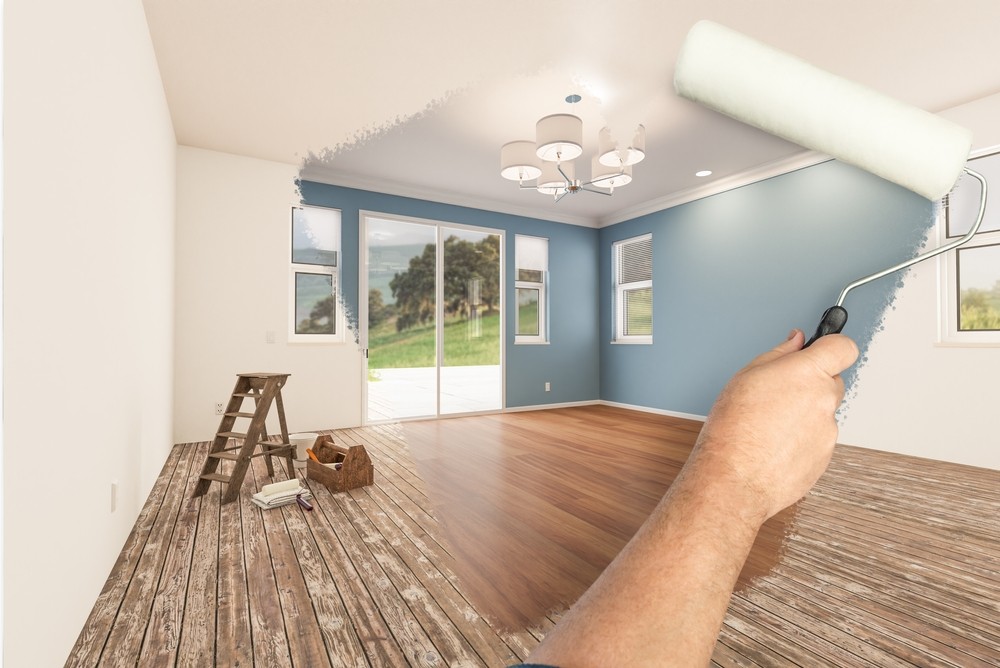
Transforming the interior of your home with a fresh coat of paint is an exciting endeavor. It’s an opportunity to revitalize your living space, infuse new energy, and express your personal style. While the task of painting your home's interior walls might seem straightforward, achieving a professional and lasting finish requires careful planning, the right tools, and an understanding of the process. This comprehensive guide will take you through each step, ensuring your painting project is a success.
Understanding the Basics of Interior Wall Painting
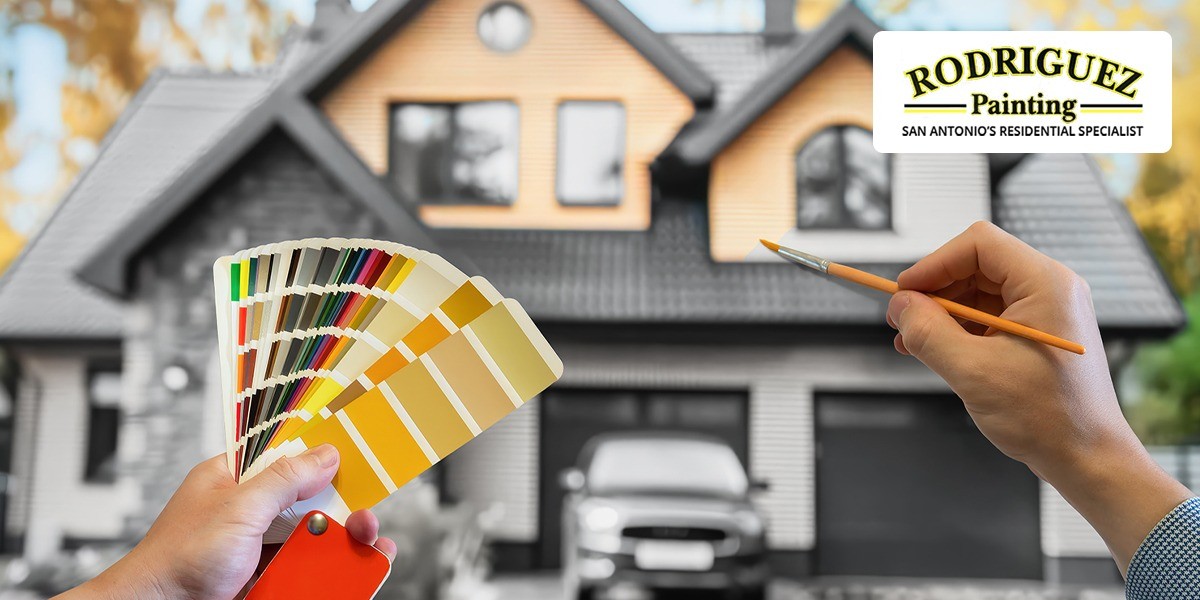
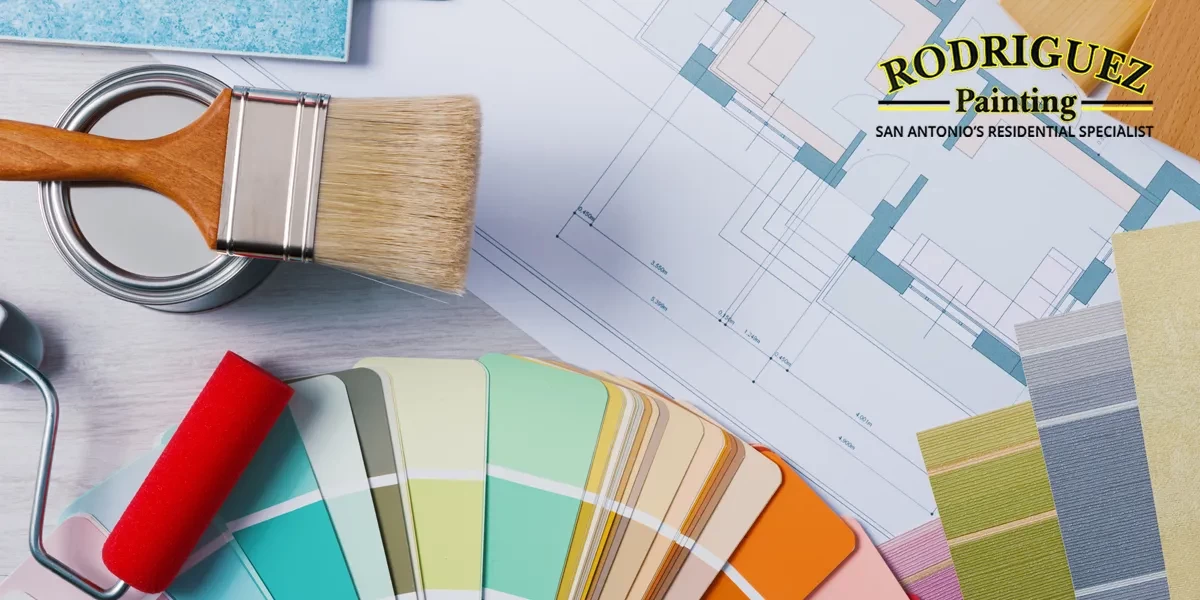
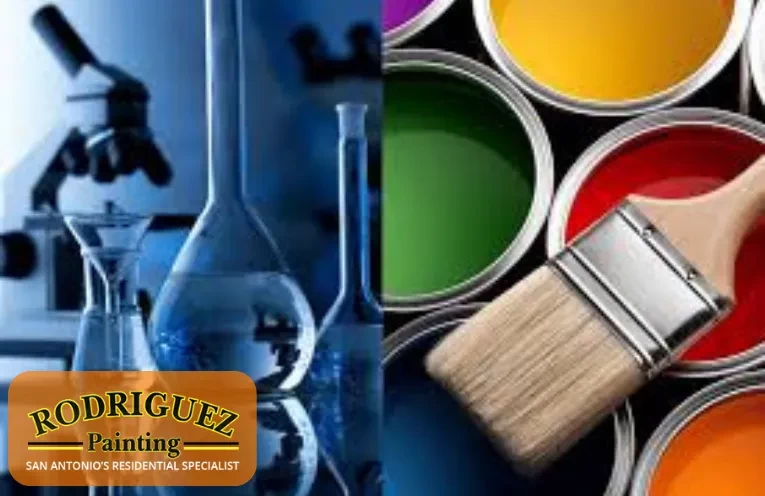
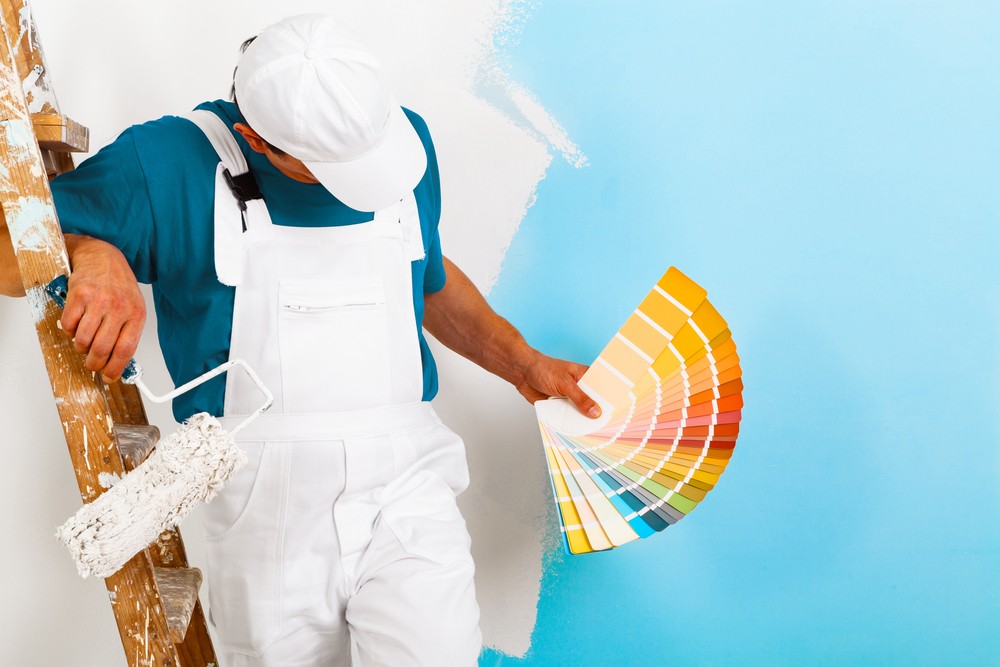
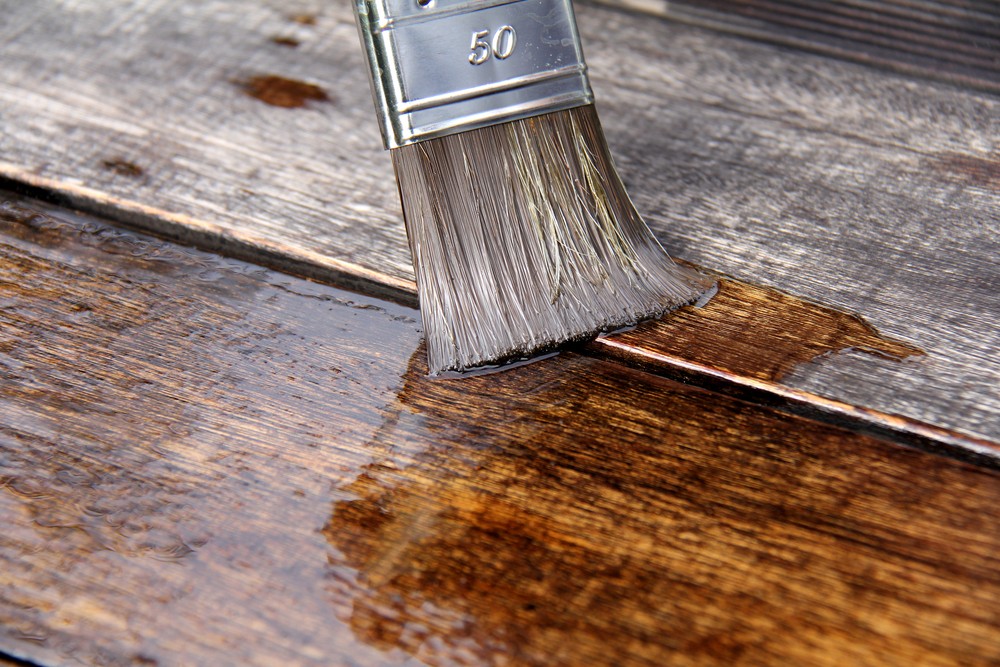
The journey begins with selecting the appropriate paint. Interior wall paints come in various formulations and finishes, each serving different purposes. Latex paint, known for its ease of use and quick drying time, is a popular choice for most interior walls. Oil-based paints, though more challenging to work with due to their longer drying time and need for mineral spirits for cleanup, offer durability and a unique finish.
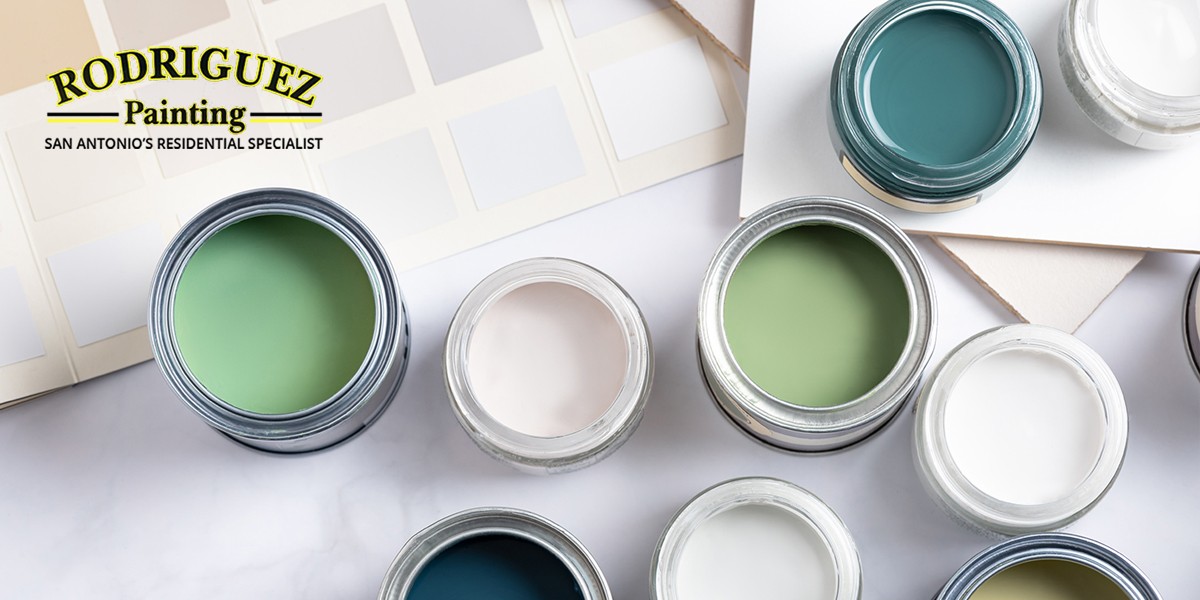
Paint Finishes for Interior Walls
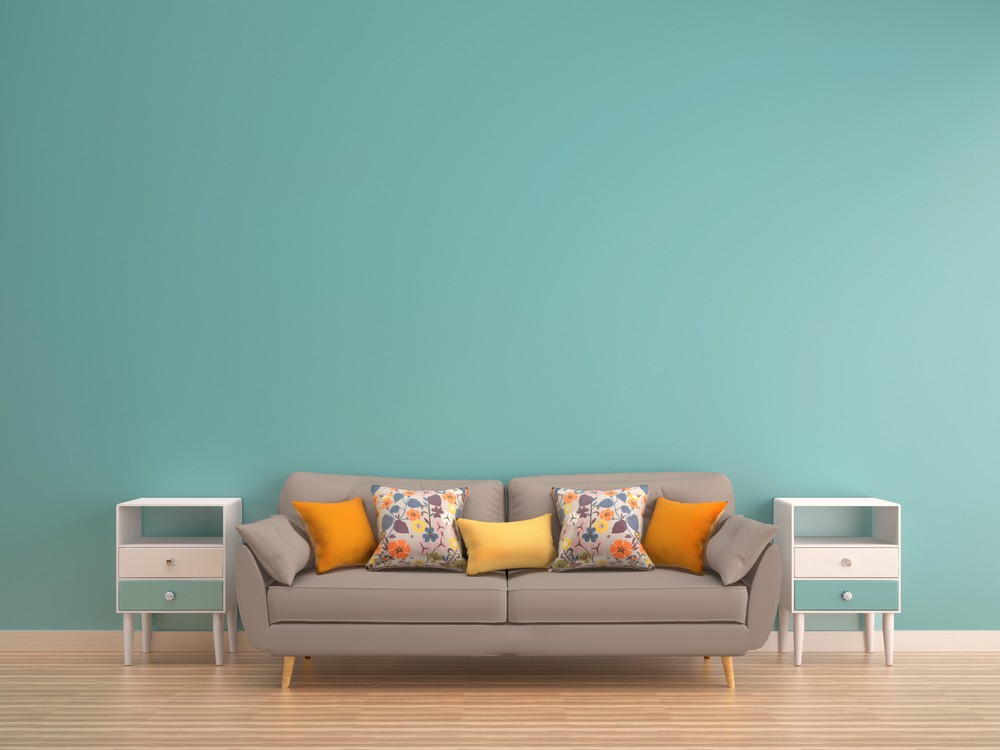
When painting the interior walls of your home, choosing the right finish is just as important as selecting the perfect color. Different finishes not only give your walls a distinct look but also offer varying levels of durability and practicality. Let's delve into the specifics of each type of finish to help you make an informed decision.
Matte or Flat Finishes
Matte or flat finishes are known for their lack of sheen, absorbing light rather than reflecting it, which gives a more muted and soft appearance to the walls. This quality makes them particularly effective at hiding surface imperfections like bumps or small cracks. Typically used in living rooms, bedrooms, and on ceilings, matte finishes offer a velvety look that enhances these spaces. However, they can be less resistant to moisture and may be more challenging to clean without leaving marks, which is a crucial factor to consider during selection.
Eggshell and Satin Finishes
Eggshell and satin finishes offer a subtle sheen, lying somewhere between matte and glossier finishes. They provide walls with a soft glow and are more durable than matte finishes, making them more suitable for areas that see moderate traffic. These finishes are a popular choice for family rooms, hallways, and even kitchens and bathrooms due to their slight sheen that allows for better moisture resistance. They strike a balance between aesthetic appeal and practicality, being easier to clean than matte finishes and capable of withstanding light scrubbing, making them a practical choice for active households.
Semi-Gloss and High-Gloss Finishes
Reflective and shiny, semi-gloss and high-gloss finishes are known for their ability to reflect a significant amount of light. High-gloss is more reflective than semi-gloss and is thus more durable, able to withstand a lot of wear and tear. These finishes are ideal for kitchens and bathrooms where moisture resistance is crucial and are also commonly used on trim, doors, and moldings to highlight details. While they are highly washable and can handle heavy scrubbing, making them suitable for high-traffic areas, it’s important to note that they tend to highlight surface imperfections. Therefore, proper wall preparation is essential to achieve a smooth appearance with these finishes.
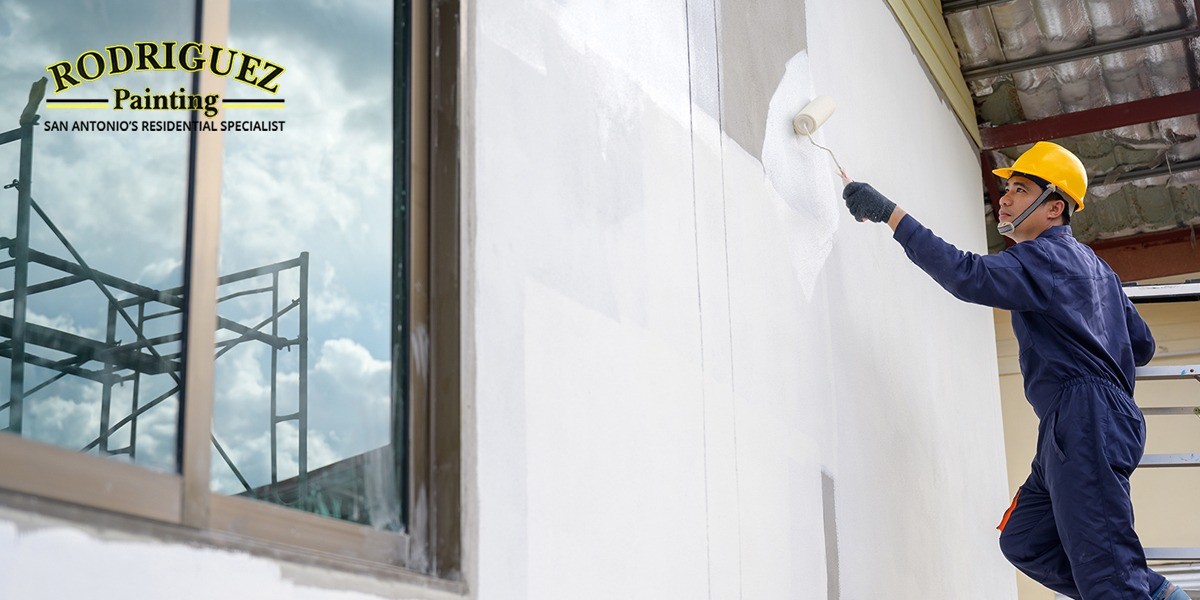
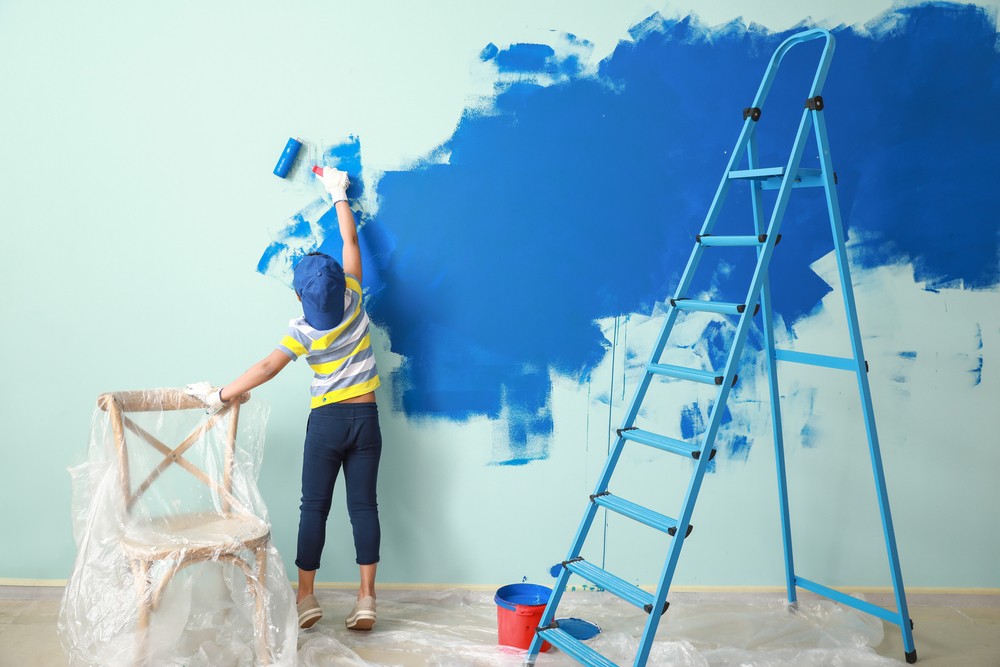
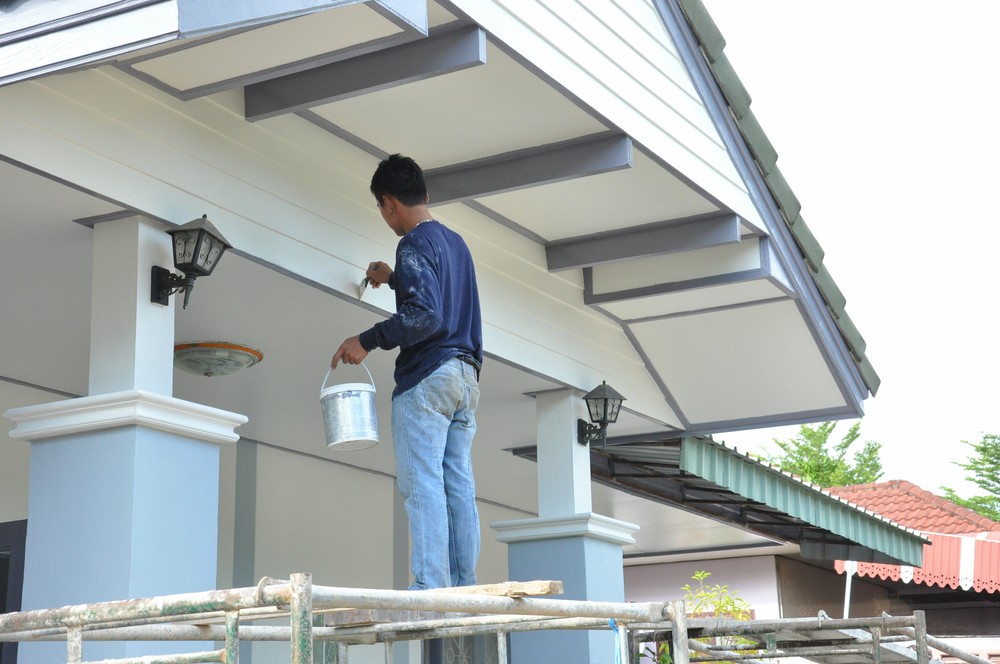
The Painting Process
-
Priming
Priming is essential, especially if you are covering a darker color or making significant color changes. Primer provides a uniform surface for the paint, enhances paint adhesion, and can improve the longevity of the paint job.
-
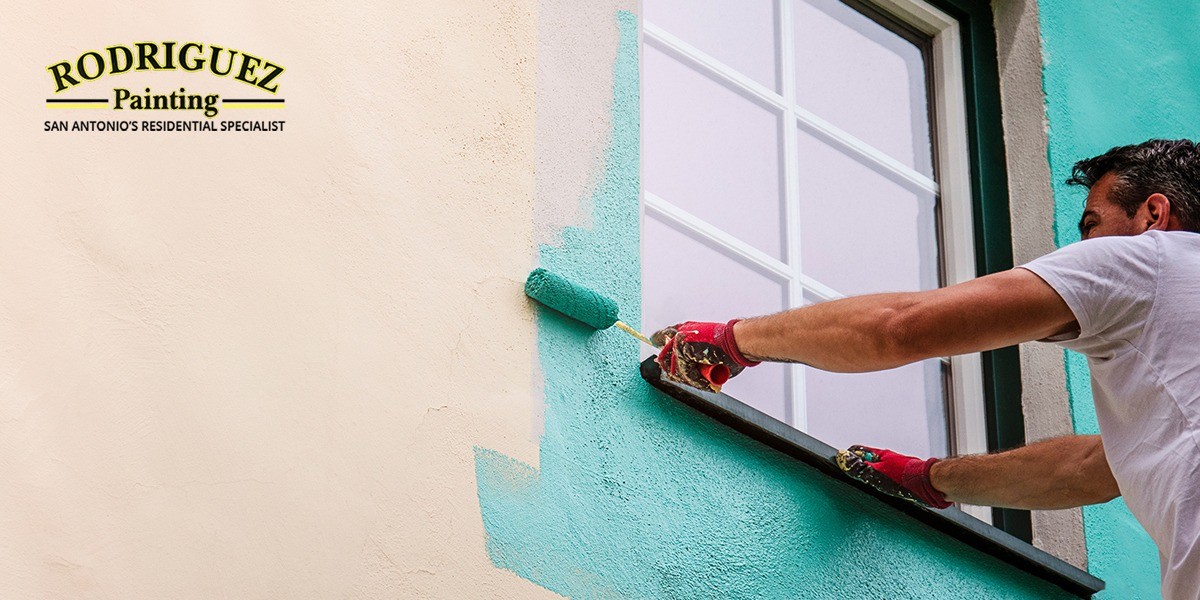
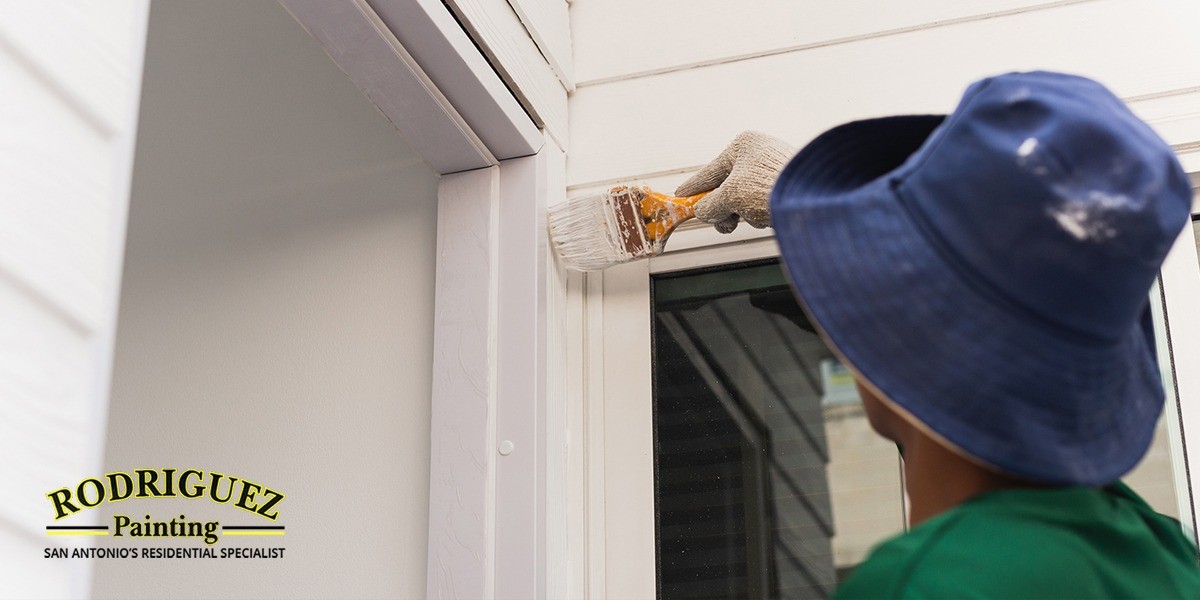
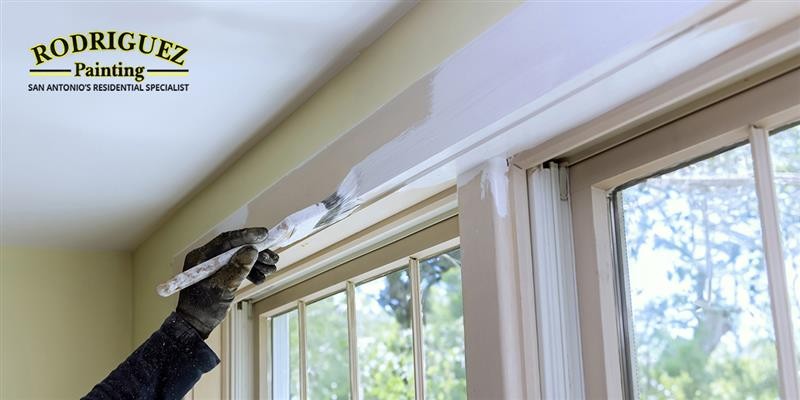
Cutting In
This technique involves painting the corners, edges, and trim with a brush before using a roller on the larger wall areas. It allows for greater precision around tricky spots and ensures a more uniform application.
-
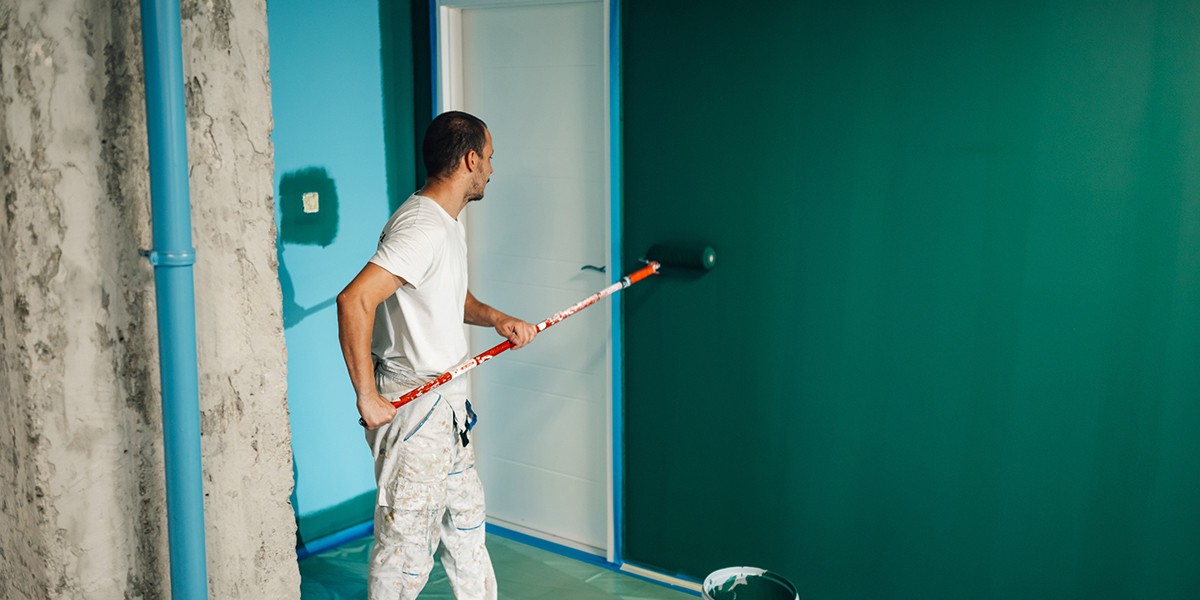
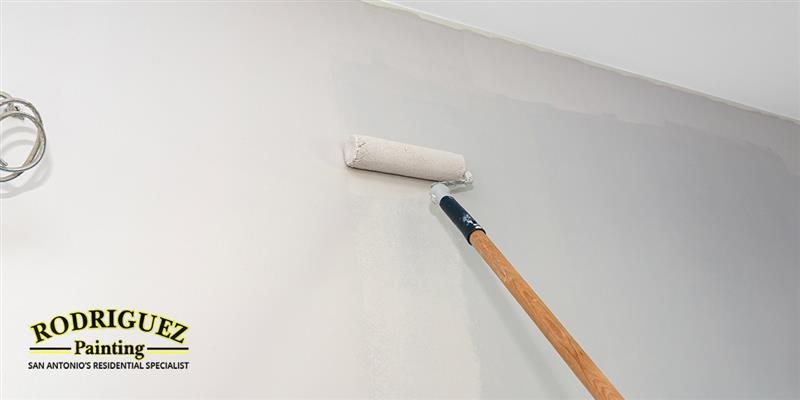
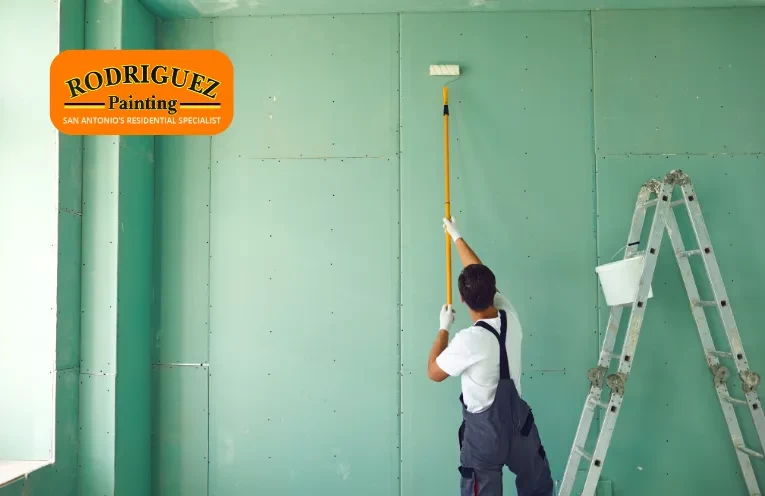
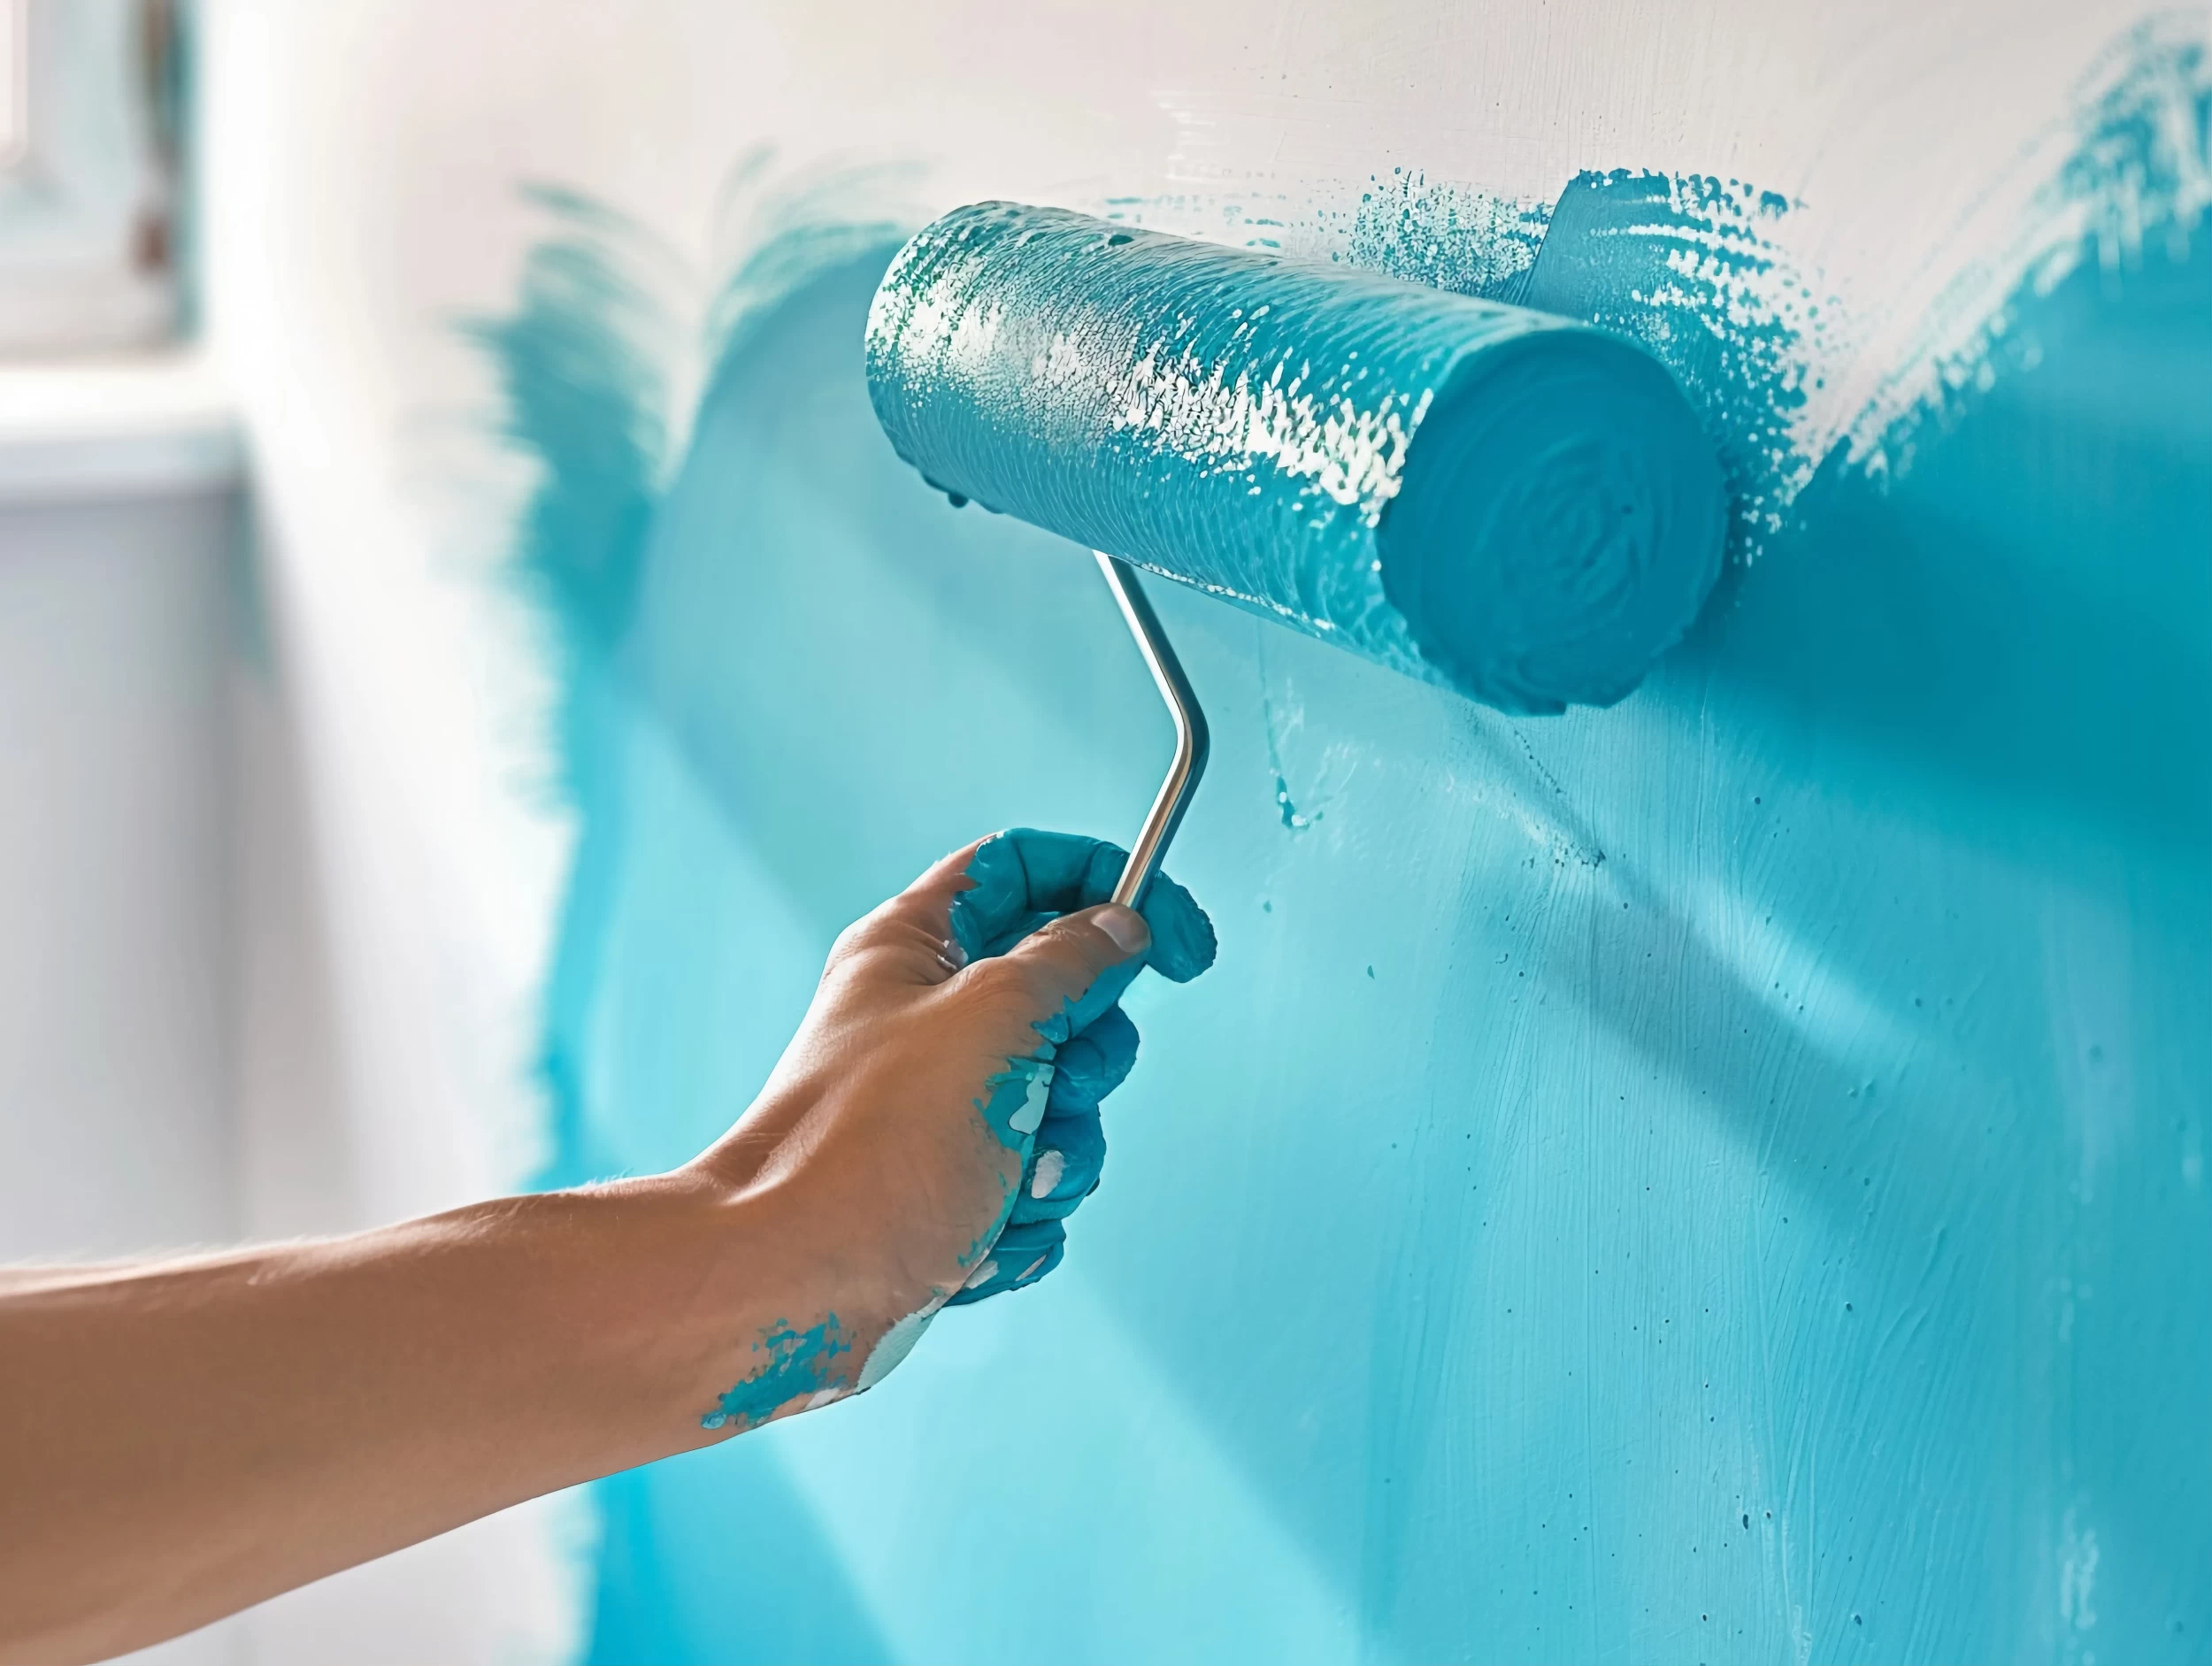
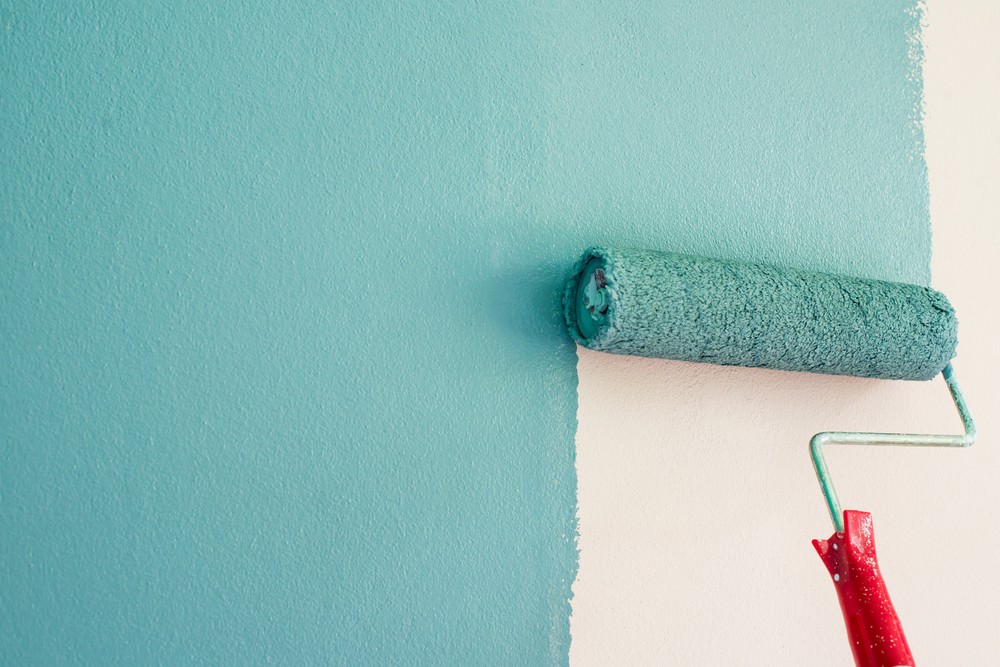
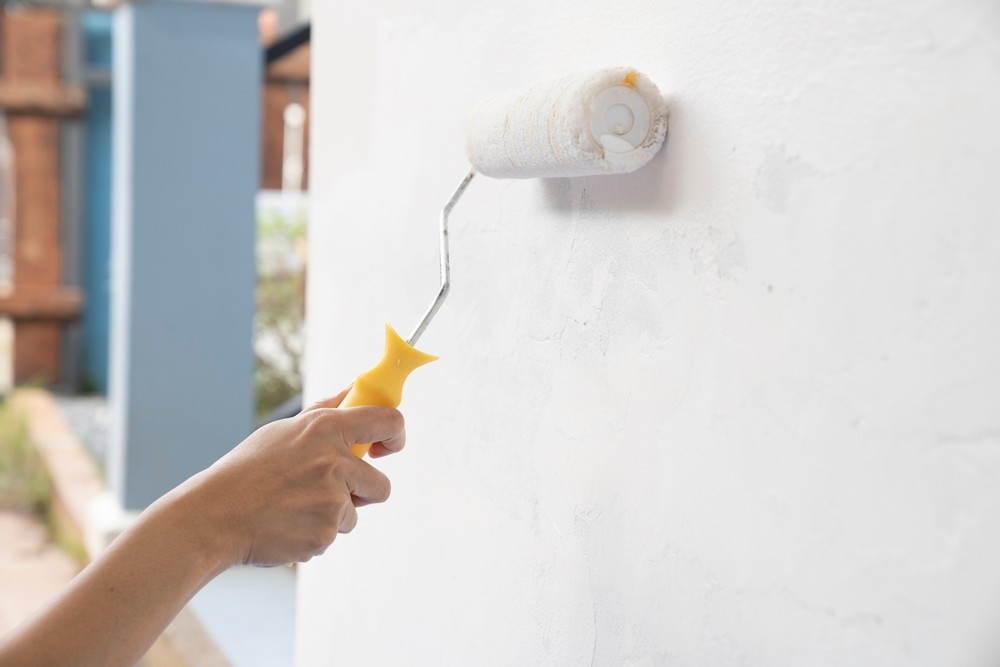
Roller Painting
For the main wall areas, use a roller for an even and smooth application. Begin from the top corner and move downwards in V or W-shaped strokes. This technique helps achieve even coverage and minimizes streaks.
-
Applying Multiple Coats
Depending on the color and type of paint, you may need to apply multiple coats. Allow sufficient drying time between coats, as recommended by the paint manufacturer.
-
Finishing Touches
Once the final coat is dry, remove the painter's tape carefully. Perform any necessary touch-ups to ensure a clean and professional finish.
-
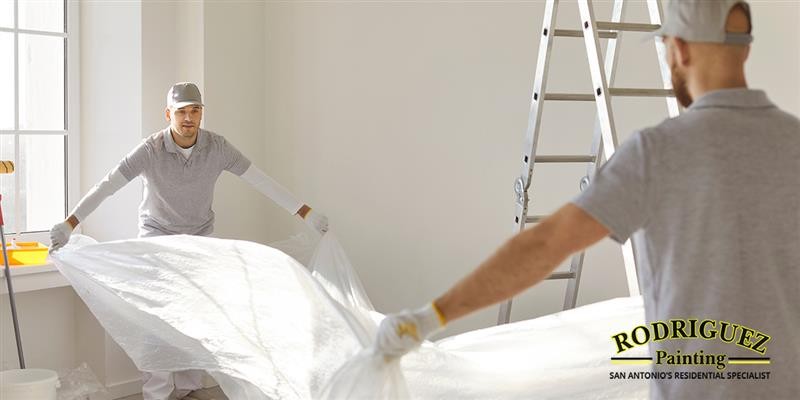
Cleanup and Storage
Proper cleanup and storage of your painting supplies will extend their life for future projects. Clean brushes and rollers thoroughly and store leftover paint for future touch-ups.
Additional Tips and Tricks
-
Before committing to a color, test it on a small section of the wall. Observe how the color looks under different lighting conditions.
-
Ensure the room is well-ventilated during the painting process to aid in drying and reduce fume inhalation.
-
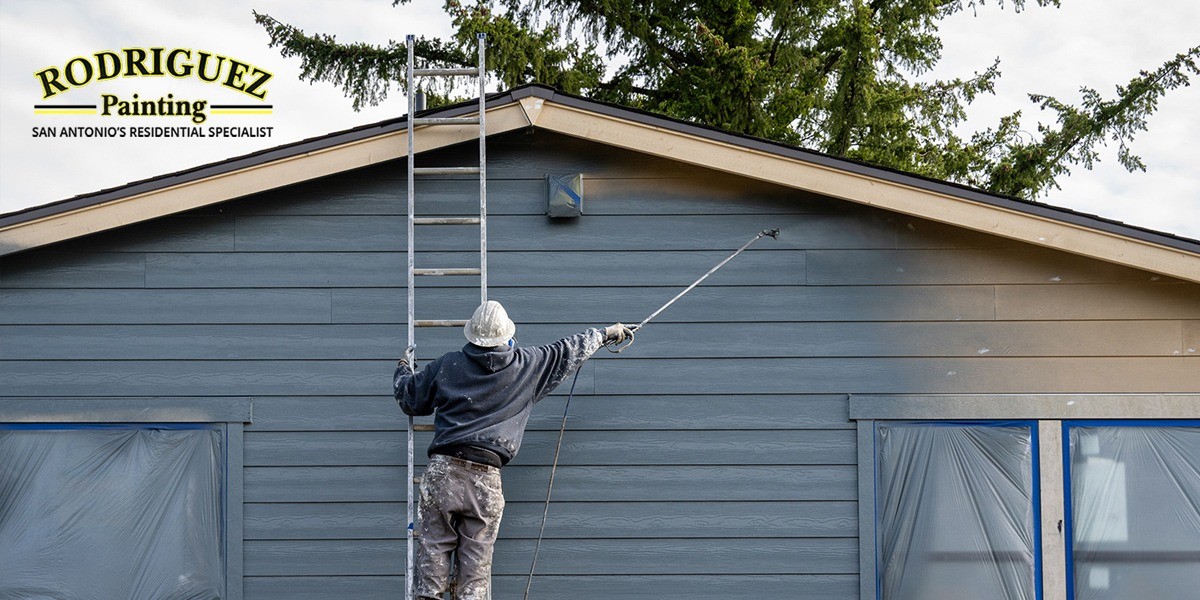
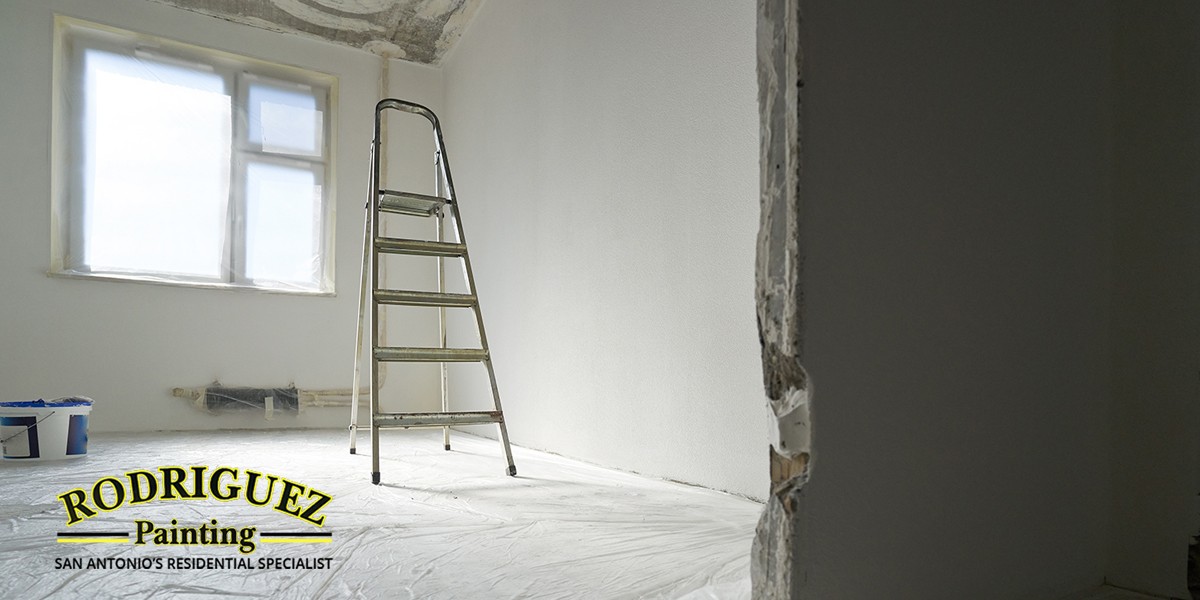
When using ladders, ensure they are stable and secure. Wear protective gear like gloves and glasses if necessary.
-
Dispose of or store any leftover paint responsibly. Many municipalities have specific guidelines for paint disposal.
Painting your home's interior walls can be a fulfilling DIY project. With the right preparation, tools, and techniques, you can achieve a beautiful, lasting finish that transforms your space. Remember, painting is not just about changing the color of your walls; it's an opportunity to infuse your personality into your home.
Always Remember!
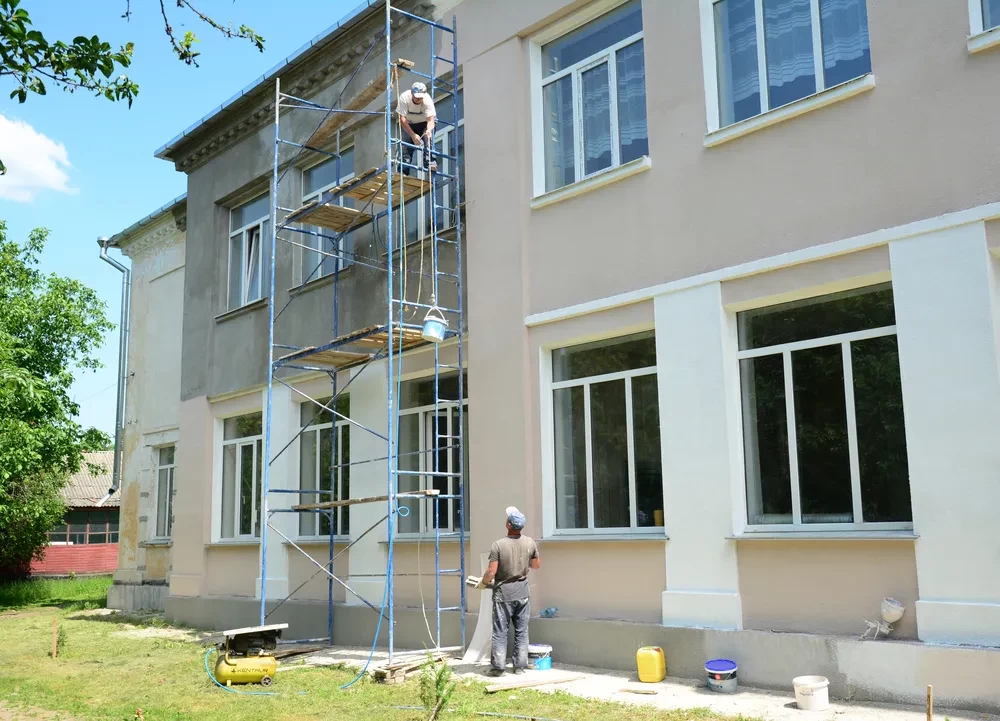
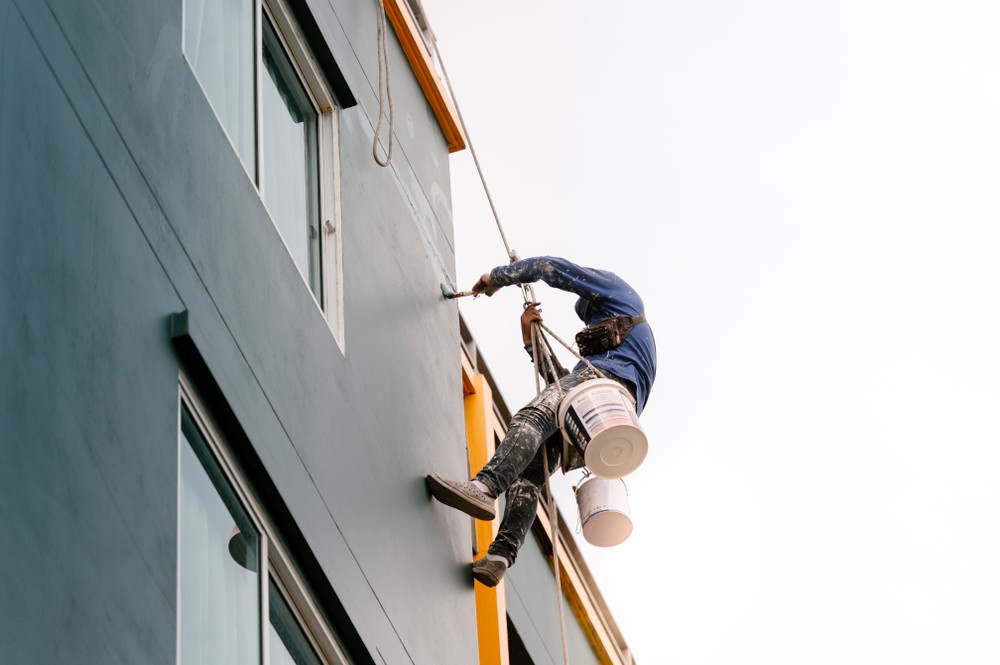
While DIY painting can be a fulfilling project, there are certain scenarios where it's wise to call in professional painters. Complex projects, such as those involving high ceilings, intricate details, or extensive surface damage, often require the skills, tools, and experience that only professionals can provide. If you're dealing with lead-based paint, commonly found in homes built before 1978, it's crucial to hire professionals who are trained in safe removal techniques to avoid health risks. Similarly, if you're unsure about the structural integrity of your walls or if there's significant water damage, professional assessment is necessary to ensure safe and effective painting. Professionals also come in handy when you're short on time but want quality work. They can complete the job efficiently and often have access to higher quality materials at a better price. Additionally, if you're looking to achieve complex painting techniques or finishes, professional painters can deliver results that might be challenging to replicate on your own. Remember, while hiring professionals can be more expensive upfront, their expertise can save you time, reduce stress, and ensure a high-quality finish that lasts longer, potentially saving you money in the long run.